Can I send you my synth for repairs/mod install?

Receiving a synthesizer via post and sending it back again sounds very straight forward. However in reality it means a lot of additional work often exceeding the time to do the actual repairs / modifications.
As always we recommend contacting a local tech instead of sending us your synth.

Here is why:

– When receiving a synth it is often not delivered to the door, but needs to be picked up from the post office. This means going by car and takes at least 30min, often more due to long waiting times in the post office. One hour is a typical duration for this task.

– If the synthesizer needs to be re-packaged, this means additional time. Of course we will try to use the package it came in, but sometimes it is nessesary to do so. If you have ever packaged a synthesizer, you will know that 30 min is a rather generous time estimate for this task.

– We can book a pick-up option for shipping the synth, so no additional time here fortunately.

If the synthesizer is sent from outside the EU, customs get involved:

– When receiving the synthesizer via DHL Express, we typically only pay customs (Sometimes we have to pay a small additional fee). Other carriers have large fees for handling import however. TNT for example charges at least 50€ for handling the import. When not shipped via an express carrier, typically we need to handle customs ourselves. This means filling out paperwork driving to the customs office (which is quite far away) waiting in line, eventually paying customs duty and having to drive back again. Three hours is a realistic time for these tasks.

– Finally, when exporting to a country outside the EU, additional fees may apply due to complicated export paperwork. This is true for all shipments with a value greater than 1000€. We use an agent for this and he charges 45€. Please note that if we claimed a lower value, it would not only be illegal, but it would also mean your shipment is not insured properly.

– It is possible to import goods ‘for repairs’ and this way getting back the customs duty paid on import. It means however a substantial amount of additional paperwork, often offsetting the cost of customs duty.

Holiday2018

On holiday until the 21st August. Shipping will continue, but support may be slower. In urgent cases please write to Alex(ät)tubbutec(döt)de, shipping related questions to shipping(ät)tubbutec(döt)de

CR-78 midi with uniPulse

Features

  • Midi trigger of all CR-78 instruments, most fully velocity sensitive. Guiro pitch can be controlled slightly.
  • Midi controlled accent trigger (send max velocity 127 to trigger accent). Accent amount is still controllable via knob.
  • Instrument mixer on CR-78 will continue to work.
  • Sync via midi clock, switch between internal clock and midi clock via toggle switch.
  • Use CR-78 Rhythms and midi control simultaneously.
  • Not need to cut any traces, installation is completely reversible.

Note: Due to the way the CR-78 is built, tambourine and guiro will always run when the clock is started. They are fixed, synced to the clock and can not be seperated from it (unless you cut some traces).

After installation you can trigger the following instruments on midi channel 10. The voice names are the General MIDI names for the drum sounds, but will mostly match the sounds of the CR-78:

75 Claves

37 SIde Stick

60 Hi Bongo

61 Low Bongo

64 Low Conga

38 Acoustic Snare

35 Acoustic Bassdrum

49 Crash Cymbal 1

46 Open Hi-Hat

70 Maracas

56 Cowbell

54 Tambourine

42 Closed Hi-Hat

73 Short Guiro


Get the kit in our shop (select Version: CR78)

Installation manual

The installation manual as PDF

Config file

Config file Download (Right click, save as)

TR606 UniPulse Installation

Buy uniPulse in our shop!

uniPulse TR-606 features

  • Full velocity control of all 7 voices
  • Six (6!) additional sounds (An 808ish deep clicky bassdrum and a higher pitched one, Only Snare Noise, Only Tom Noise, Each half of Cymbal (the hitting sound and the decaying sound))
  • Midi clock input. Clock is also sent to external din-sync devices.
  • Midi controlled Open hihat decay
  • You can install an additional midi socket, or use the existing DIN-Sync socket

After installation you can trigger the following instruments on midi channel 10:
BD: 36
SN: 38
LT: 45
HT: 48
CY: 49
OH: 46
CH: 42

and the extra sounds:
Bassdrum 2: 37
Deep Kick: 35
Felt Cymbal: 52
Snoyze: 40
Brush: 47
Closed Cymbal: 51

Open hihat decay CC 17 (when counting from 0)

The midi channel and the notes can be modified using our configurator tool (see below).

Continue reading →

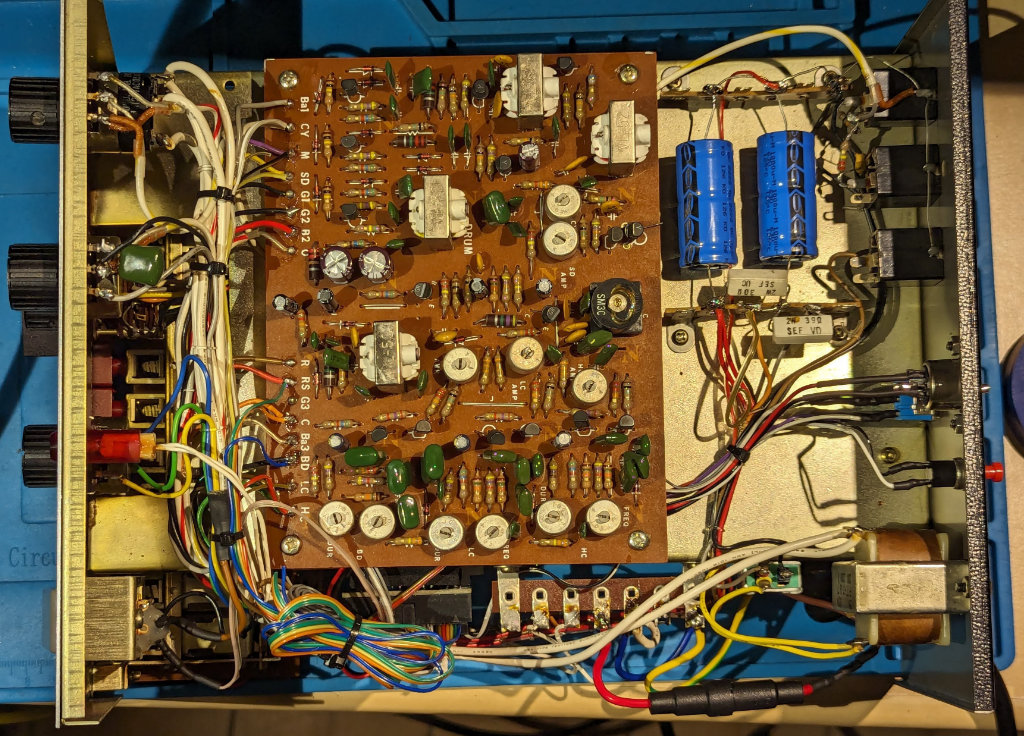
Hammond AutoVari 64 midi with uniPulse

Thanks to Jonas Olesen we now have a comprehensive uniPulse installation manual.
He also installed extra outputs and pitch mods which are of course optional, but recommended modifications.

Note from Tubbutec forum user Cyrano1 :
Note this is only for AV-64 MK-1 boards (->1979).
Auto-Vari 64 MK-2 board (1980) has completely redesigned unit on one single board with various ICs that is totally different.

The Hammond Auto vari 64 – Unipulse installation and modifications

By Jonas Olesen

some more info in this thread.

Caution!

The power wire in the back goes directly to exposed solder joints besides the transformer, BEFORE they go
into the transformer. This means that 220v is completely exposed – be careful.
I glued a piece of plastic on top of these joints.
The service manual is extremely well written and explains almost all circuits in detail, and combined with
the fact that all connections in the machine are marked with their functions in plain English, makes the
machine very easy to work with.

Installation of the Unipulse:

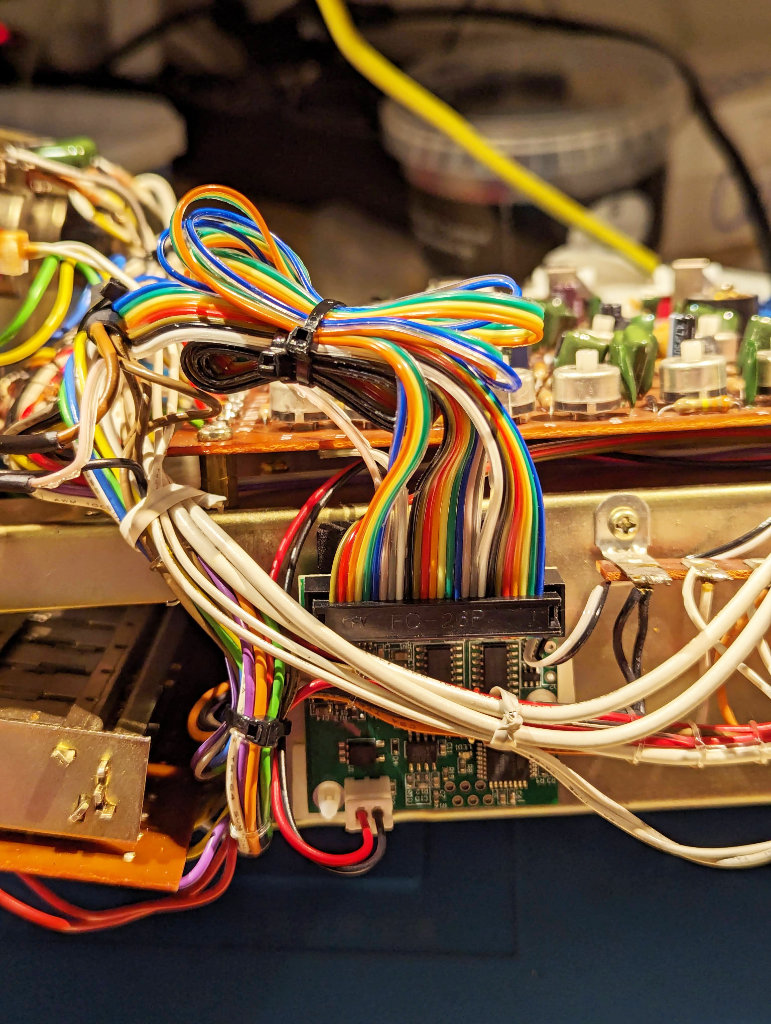
Very straightforward – simply cut the wires in the voiceboard connector and solder on the unipulse triggers and power. Then reinsert the connector.
[Tubbutec: We believe there is a way to avoid cutting wires, but lacking a machine we can not test this. If you own a machine and want to test this, please get in touch]

I attached the unipulse board to a piece of wood glued and screwed to the chassis.
Trig outputs 1-9 triggers the sounds, except brush and sandblock.

On the front of the Autovari I have installed 10 additional outputs from the Unipulse, so these can be used
to trigger / synch other machines. Please note that the back panel is too thick to attach minijack outputs,
The fron panel is thin metal, and there is a lot of space for outputs and additional potmeters here.
Midi input installed on the back besides audio outputs.

Small corrections to the Tubbutech voice board trigger points:

Bassdrum trigger: differs from the drawing, has to be Bassdrum besides it (has a wire)
Brush has no wire in the connector, it will probably trigger if the trace is followed underneath the voice
board, but I did not implement it. Strangely the Brush plays in the internal rhytems, although no visible wire
is connected to it via the voiceboard main connector.

Modifications:

Low frequency output:

Seperate output for the low frequency content.
Main output contains both hugh and low content – the balance pot located on the back is moved to the
front – from here the balance can be set to only high frequency content.
This way there are a seperate output for low and hugh content.

Pitch mods:

Easy and a must do!
I found the resistors by poking with alligator clips – the online scanned service manual is so low resolution,that the resistor numbers can not be read.
1: Bassdrum: Replace R4 with a 50k log pot
2: Snare drum low frequency: Replace R65 and R55 with a stereo 50k log pot
3: Conga: Replace R14 with a 50k log pot
4: Bongo. Replace R23 with a 50k log pot
5: Claves: R33 + R32 50k log Stereo pot (to obtain a wider pitch range)
6: Rimshot: Replace R40 with a 50k log pot
Cowbell: The cowbell consists of two seperate sounds:
7: Cowbell 1: Replace R50 with a 50k log pot.
8: Cowbell 2: Replace R58 with a 50k log pot.

Not implemented:

Sandblock CV trigger.
Brush trigger.
Decay mods.
Sync clock:
Not tested

Download the config file (you need to extract the pconf file from the zip file).

ModyPoly: Control Polysix resonance

Disclaimer: While this has been tested and found to be working well,
it is not an official ModyPoly feature (at least not yet).
For this to happen we would first like to test this in more Polysixs
to see if it always works as intended.
So if you find this is not working properly, tell us, but don’t blame ModPoly.
Thanks

The following manual describes how to use the 3rd CV output of ModyPoly (brown wire) to control the Polyisx resonance. You will need at least firmware version 1.57 for this to work. Lower firmware versions will have an inverted response with full resonance at startup.
Continue reading →

Juno-66, ModyPoly, SH-1oh1 midi output configuration

Keywords:
Double midi, phasing, as-played, as-sounds, channels, loop

Tubbutec synth upgrades have two midi output channels: An as-sounds channel and a as-played channel.
While this is a very useful feature, and well documented in the user manuals, many people seem to be confused by this and we had to answer “bug reports” way to many times.

So here is an explanation of some common issues:
Continue reading →

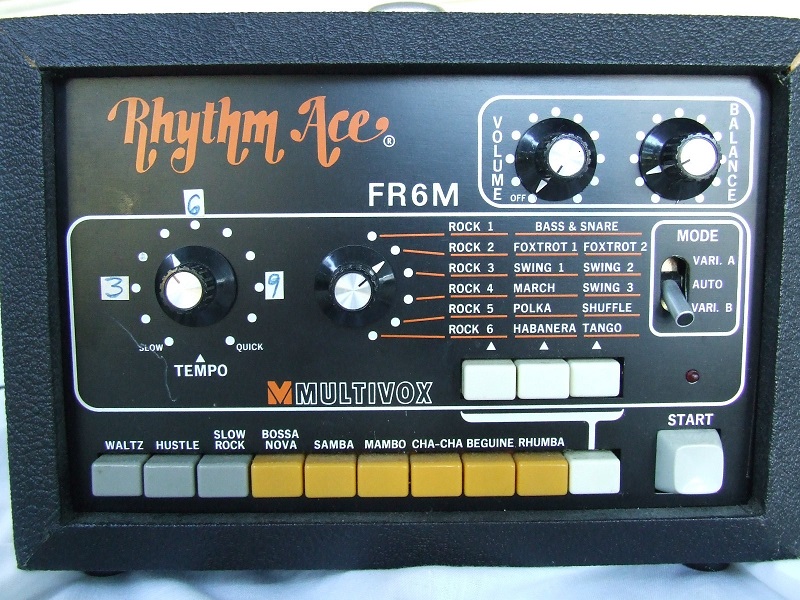
Rhythm Ace FR6 uniPulse install

This manual describes how to add velocity sensitive midi to the Rhythm Ace FR6 using uniPulse.

Picture via Matrixsynth

This was not tested by us, but a friendly customer provided pictures and a schematic drawing for the sync circuit after a successful installation. Thaks to Pieter Vochten.

Configuration file is here. (Right click, save-as)

Trigger

The picture below shows the trigger point locations. Just solder uniPulse wires P1 – P8 to these points.

Board overview, Unipulse triggers soldered in place:

Board placement:

Connections on backside:

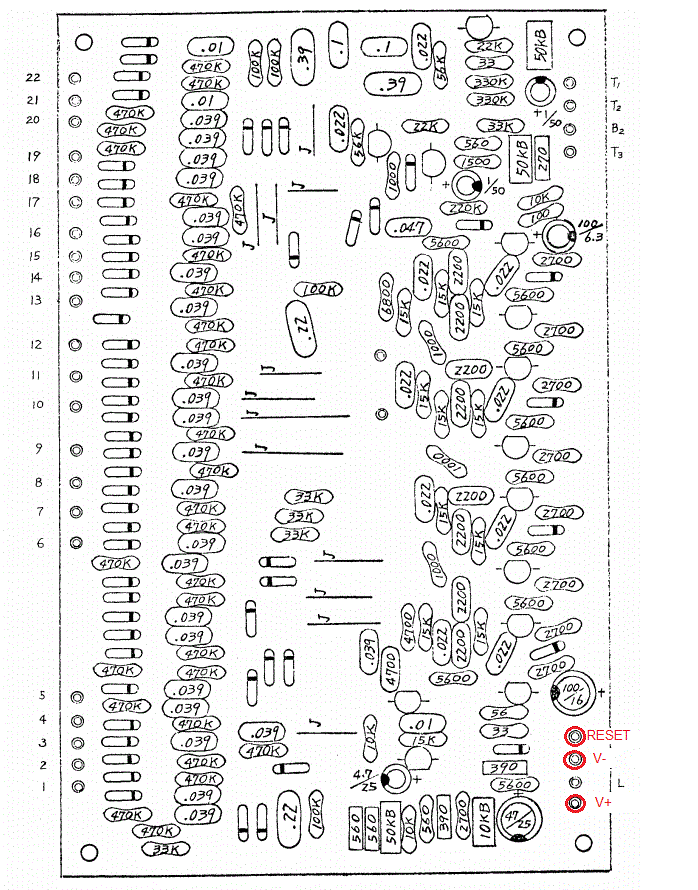
uniPulse power

Solder unipulse wire V+ to the V+ point shown in the picture below. Solder uniPulse GND to the V- point.

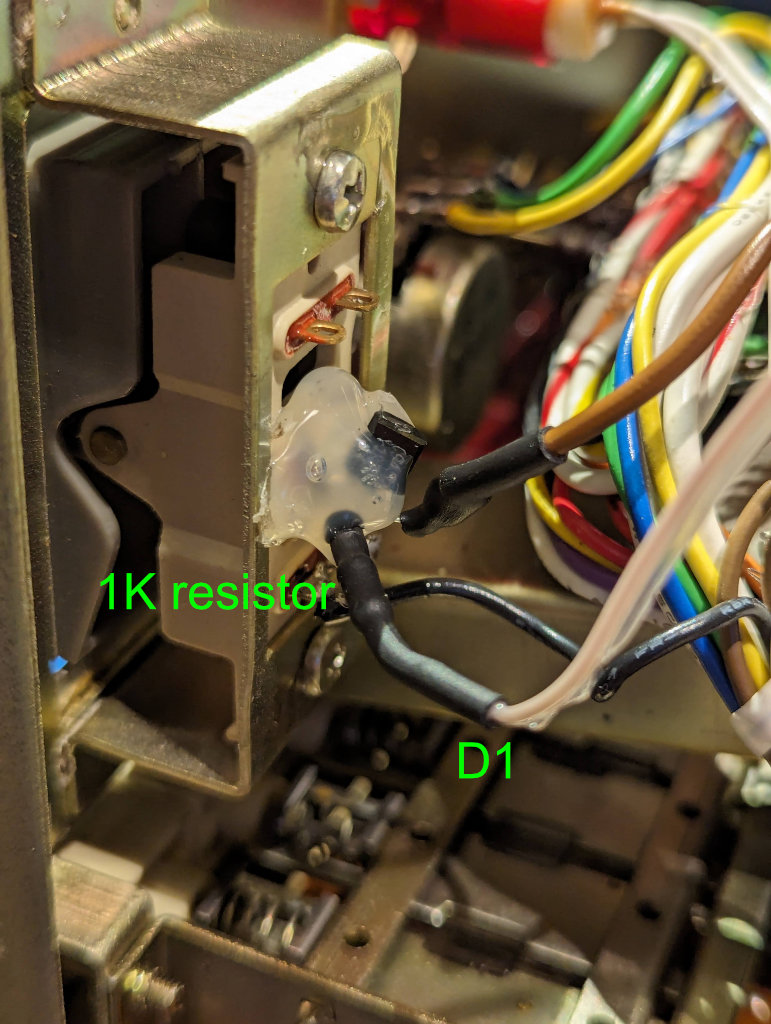
Clock and sync

Schematic diagramm, showing the clock and start/stop connections:

Clock connections, resistors not shown:

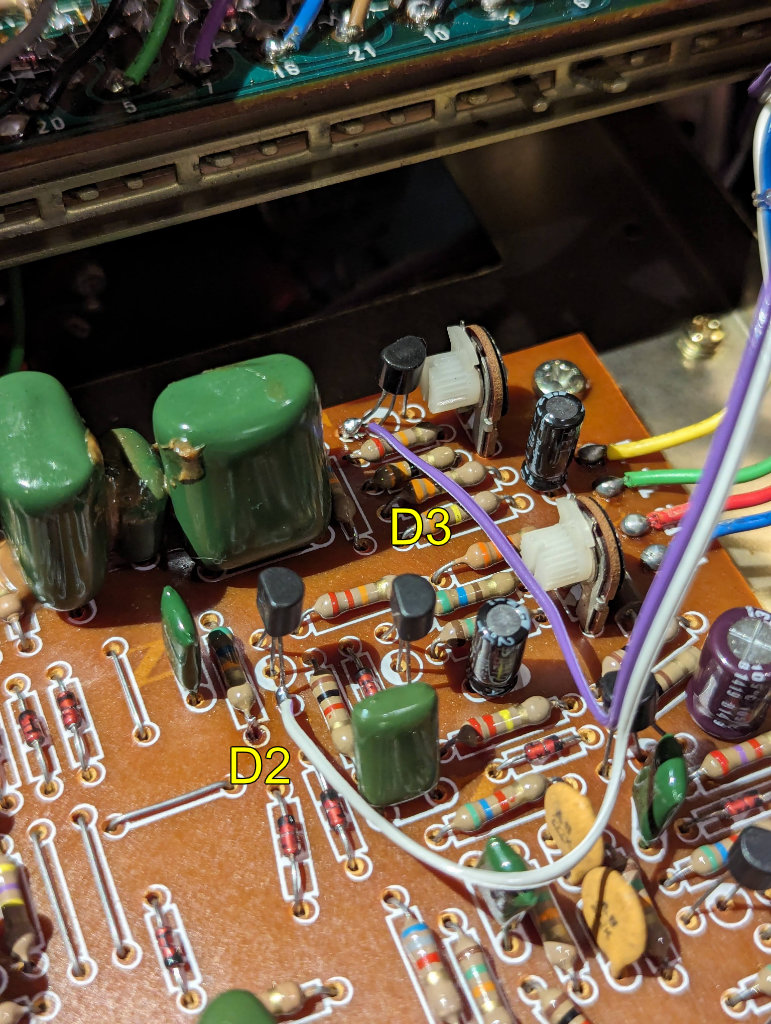
Transistor placement:

Start/stop connections in place:

Rhythm Ace FR-1 uniPulse install

This manual shows how to connect uniPulse to the Ace Tone Rhythm Ace FR-1. It is possible to control all 10 drum voices via midi and they are velocity sensitive.
It is even possible to control the Brush sound in a velocity sensitive way.

Trigger

Here you can see the voice board with the connections of uniPulse triggers P1-P10. The brush control needs a general purpose PNP transistor such as BC557 and a 56k resistor. Connect them them just the way it shown in the picture.
B, C, and E are the Base, Collector and Emitter of the transistor.
Connect the base to point B, the emitter to point E and the collector to uniPulse CV-out via a 56k resistor. The 56k resistor is not connected to the 470k resistor on the board, it only looks like that in the picture.


Continue reading →