This manual describes how to add midi control to this drum machine using our uniPulse interface.
The machine has been sold under various names including
Keynote AutoRhythm
Jax 230 Auto Rhythm
Selmer MR-101 Auto Rhyth
All 10 instruments can be triggered, most are velocity sensitive.
These are the instructions showing how to install uniPulse in a Hohner Automatic Rhythm player.
This gives you full midi control over the instruments, most instruments can be triggered dynamically via midi velocity.
This manual shows how to install uniPulse in a Korg MiniPops 3 (aka Univox SR-55 and Aria Diamond) and trigger all 9 instruments via midi.
The installation is fairly simple and only requires soldering a few wires and parts into place, as well as drilling a hole for the midi socket.
Trigger connections
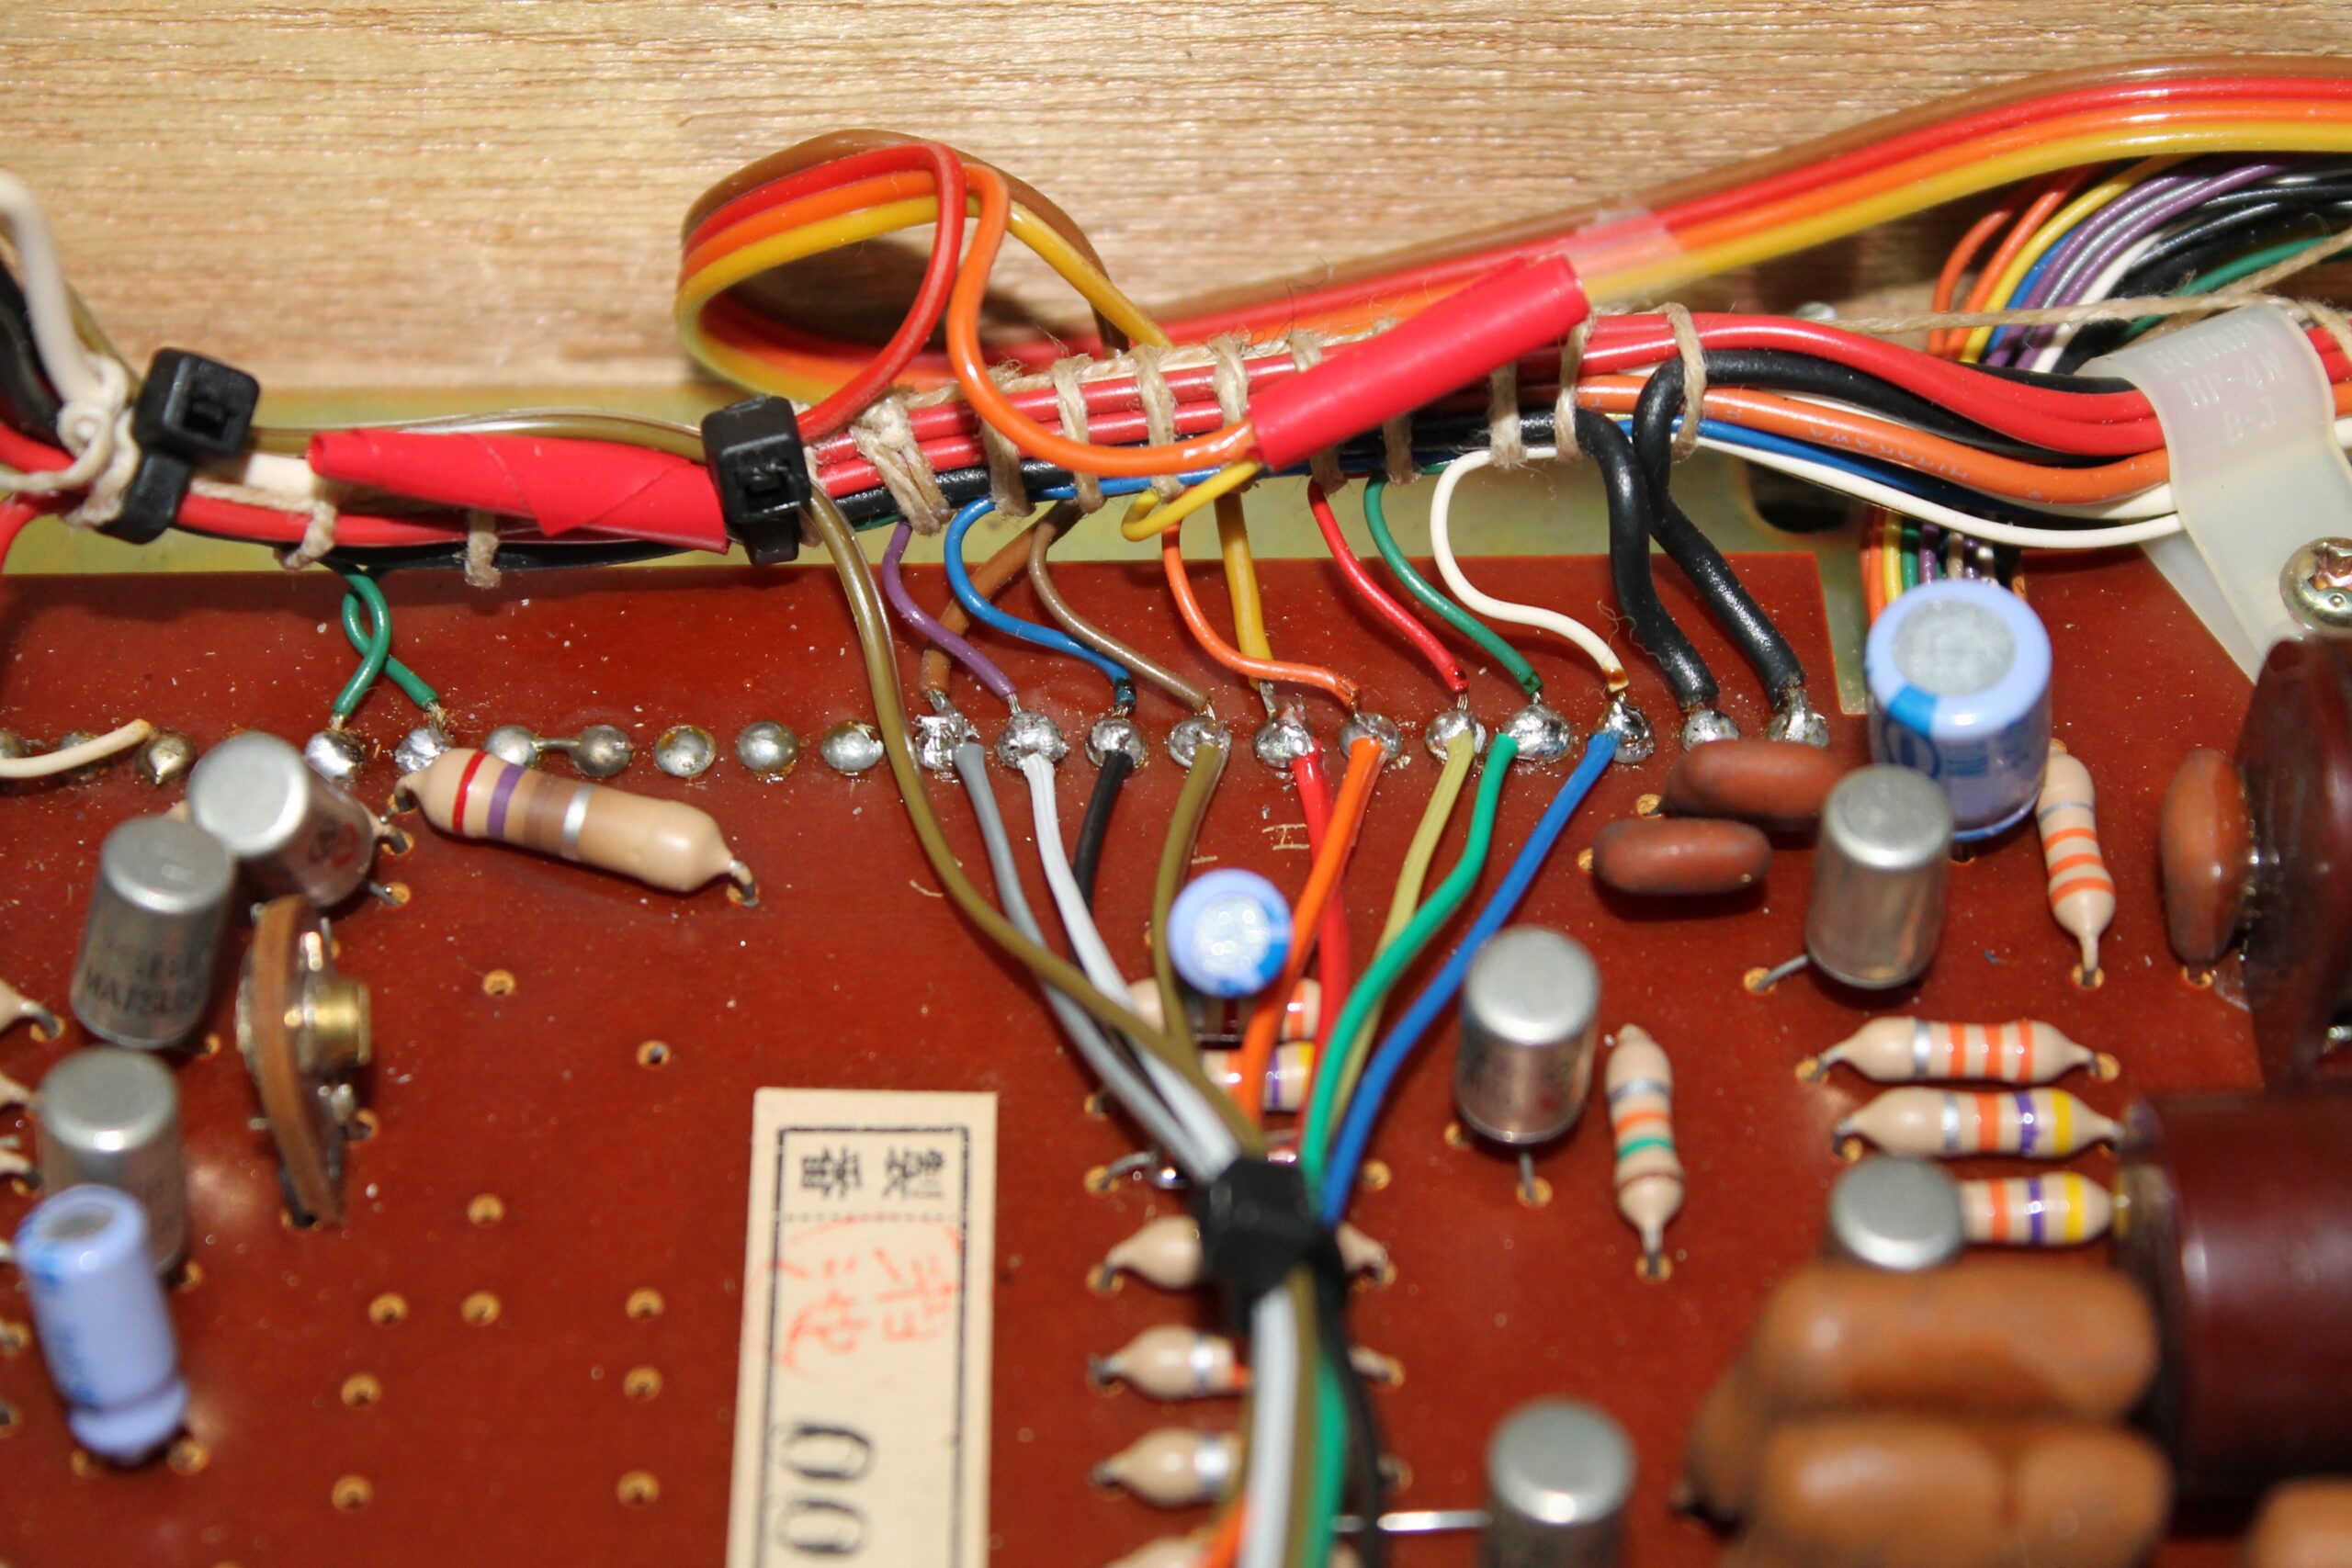
Here we see the 9 trigger points for the various instruments. These are trigger outputs P1-P9 from uniPulse directly soldered to the trigger points.
uniPulse power supply
In order to power the uniPulse you need to add a few parts, but it is rather simple. The following image shows how we added an additional diode resistor and capacitor in order to get a positive supply voltage for uniPulse. These parts are included in the kit on request. This is a 100uF capacitor, a 1N4148 diode and a 2k resistor. The resistor avoids high voltage spikes, its value is not critical. A 2.2k resistor can also be used.
As you can see the capacitor is connected to the black GND connection with its negative pin, the diode feeds a positive voltage to its positive pin. The resistor is soldered across the capacitor. The brown +V wire from uniPulse is connected to the positive side of the capacitor.
Ground connection (red GND wire from uniPulse) can be connected at the point seen below.
Installing the midi socket
Installing the midi socket is simple. A drill guide is included in the kit. Any location is fine, we chose to install the socket in the cable compartment of the machine. The white marking on the midi connector points inwards on the uniPulse board.
Config file upload
After installing uniPulse, turn on the machine and make sure the LED on the uniPulse is turned on. This means it has power and is running.
Connect midi and use the config tool to upload the following configuration.
Merry Christmas and a happy new year!
We’ll be closed for 2 weeks until the 2nd.
Last day of shipping is this Thursday the 19th. We will of course accept orders after that, but these will be shipped on the 2nd next year.
Please understand that there will only be limited support during our absence, but we will of course be back for you next year.
Have a nice time and enjoy the Holidays !
This is a short manual on how to replace the Minerva mod for Juno-60 with the Juno-66. A few people have asked about this and we finally got the chance to perform the conversion.
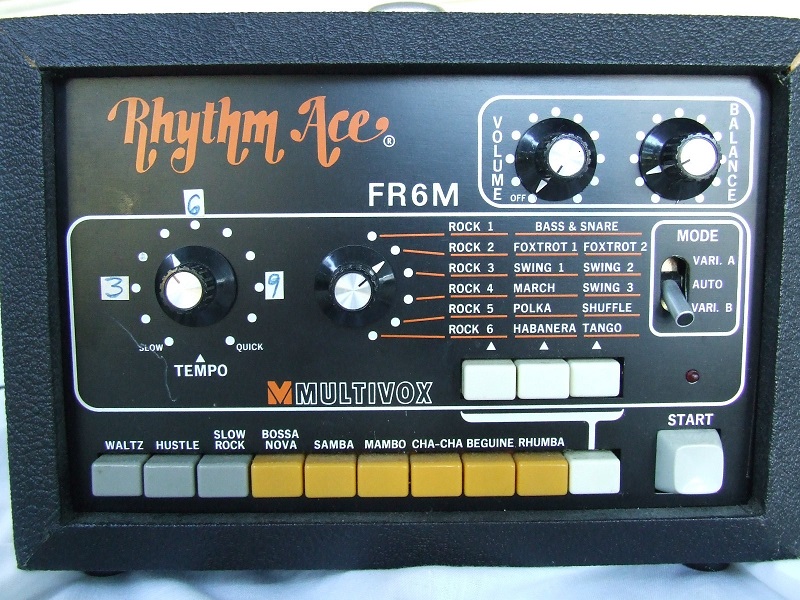
It has come to our attention, that the Multivox FR6M is identical to the Roland TR-66. Here is the TR-66 installation manual which should work perfectly provided this is indeed the case
Additionally, there are these posts by jlo form the Muffwiggler forum who has figured out how to trigger and sync the FR6M.
These instructions show how to connect the uniPulse to your MR-10 in order to trigger the instruments via midi.
These informations were sent to Tubbutec by a customer and could not be verified. They work for him and also make sense when looking at the schematics.
Connect uniPulse pins P1 .. P7 as shown in the picture above. Using the configurator, config all outputs as -8V, Rect or Open Rect, velocity link to voltage.
You can trigger the following instruments:
Bassdrum, snare, low tom, high tom, cymbal, hihat and high bongo
Getting power for the uniPulse is not as straight forward. The MR-10 has a strange -9V power supply. We therefore recommend to use an external 12V supply.
Alternatively, you can connect uniPulse as following: (However this has not been tested) -9V from MR10 —> GND uniPulse GND from MR10 —> +V uniPulse
In this case all triggers need to be set to +9V (not minus) and the velocity voltage link set to ‘Velocity R’
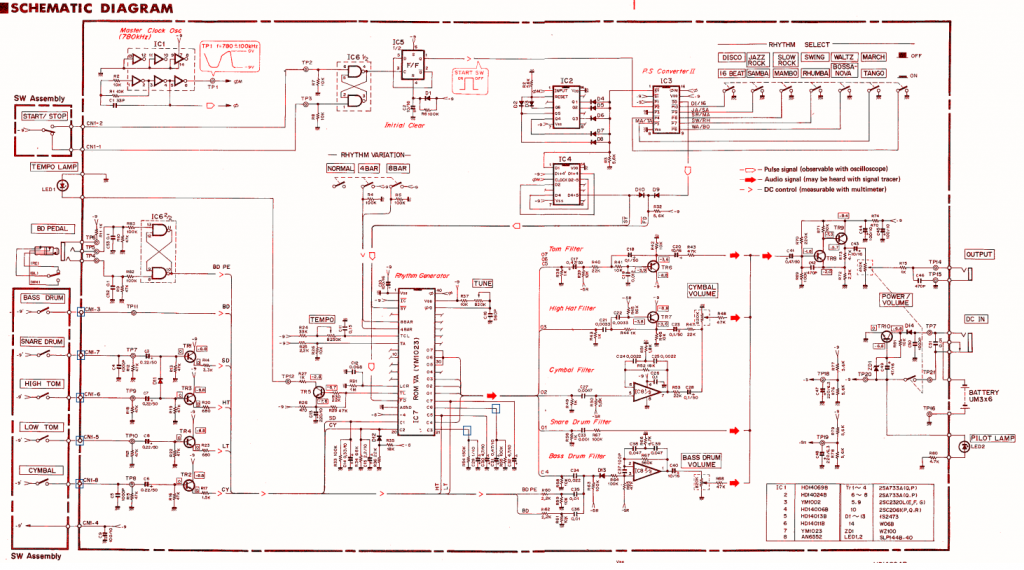
Trigger points for MR-10 are marked with blue rectagles
This is the instruction manual for installing uniPulse in a roland TR-808.
It adds the following features:
Midi trigger of all instruments
All instruments are fully velocity sensitive
5 Bonus sounds can be triggered as well
Sync to midi clock, you can still use DIN-sync of course
When the sync switch is set to OUT, the 808 will output the internal clock via DIN-sync.
When set to IN, the 808 will be clocked via external DIN-sync when it receives a DIN-sync signal, otherwise by midi clock.
You can even use an Y-cable at the input to get a built in midi2din conversion.