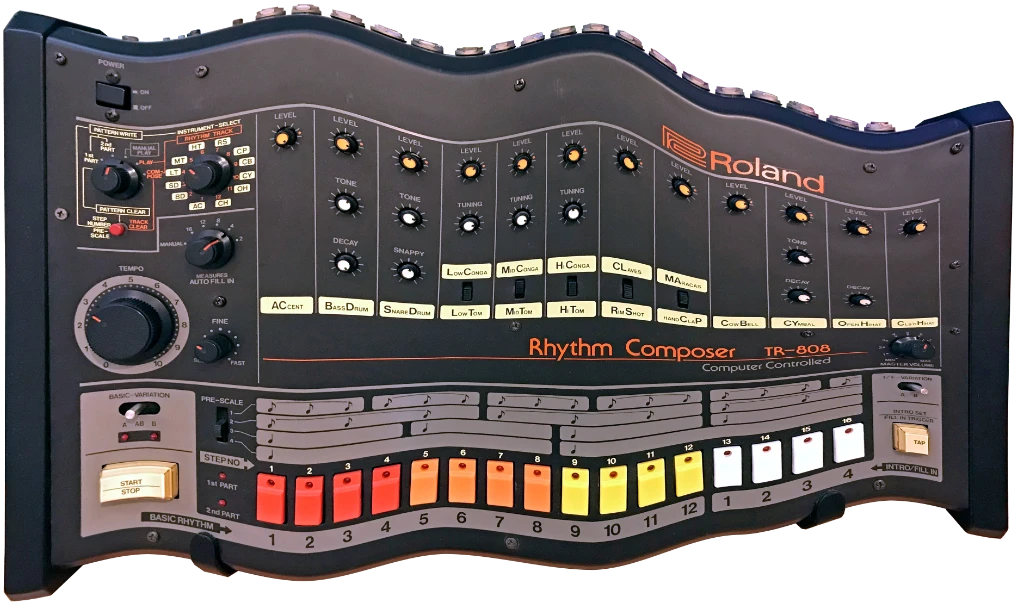
TR-808 timing, groove and jitter

Introduction

When we announced our TR-8oh8 CPU upgrade, one concern we heard was:
“Will that upgrade perfectly capture the groove of the original CPU?”

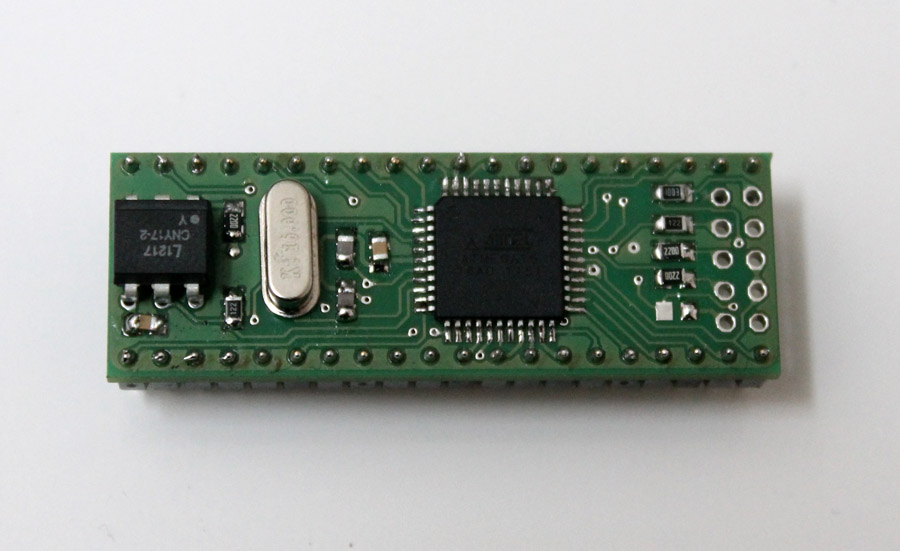
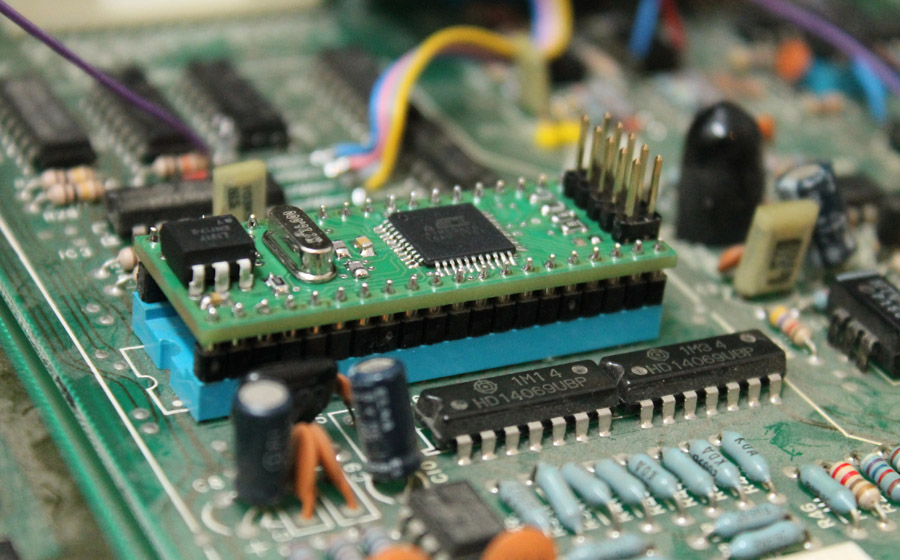
In this article, we discuss where that specific groove comes from and how well we can recreate it with our TR-8oh8 CPU. We also show how we can even improve the timing.

The specific groove of a drum machine can be caused by many factors. For example, the way the sounds interact with each other, how dynamics are processed, and how precise the timing is. For our CPU, only the timing aspects are relevant, because the other factors are part of the non-CPU hardware.
Timing accuracy can be expressed as a function of jitter and latency with respect to a reference clock signal.

  • Latency: the time between the clock and the actual drum trigger
  • Jitter: The variation in latency

Why does the original TR-808 exhibit jitter and latency?

The original TR-808 is clocked either from its internal clock or an external DIN-sync clock. The internal clock can be assumed to be jitter-free *. An external clock could theoretically have any amount of jitter, as its quality is fully determined by the gear sending it.
A strongly jittering external clock would change the 808’s ‘groove’. This interaction is not covered in this article.

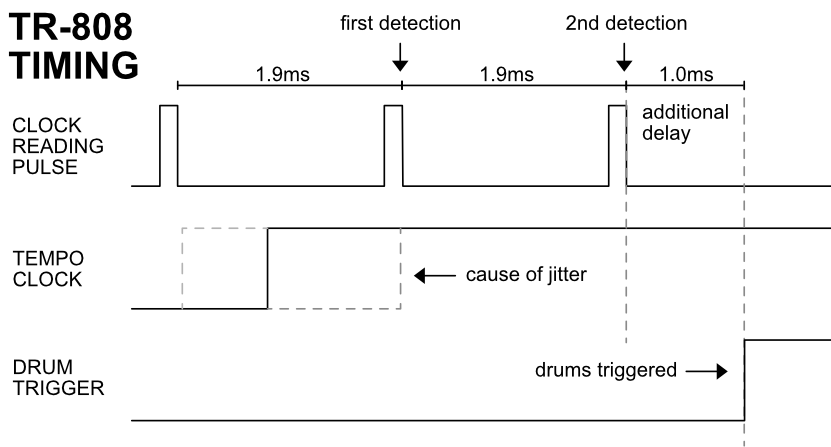
In the 808, the clock signal is sampled by the CPU, which will then generate the triggers for the drums.
Interestingly, this sampling is not interrupt-driven, but rather the clock signal is sampled at a rate of 1.9ms. The reason for this is that reading the clock signal is time-multiplexed with reading the switches.
This design decision causes 1.9ms of jitter between a rising clock edge and the drum-trigger output.

Another interesting choice is that the TR-808 samples the clock signal twice before outputting a trigger. Presumably, this was done for debouncing purposes, but is of questionable usefulness as the clock signal already has proper edges.
An assumption is that the debouncing algorithm used for the switches was accidentally also applied to the clock reading.
In any case, this automatically adds a latency of 1.9ms.

The TR-808 exhibits an additional latency, though: There is a roughly 1ms delay between the second clock reading and the actual output of the trigger. We did not reverse engineer the original firmware, but this might be the CPU needing some time to read data from the RAM.

Jitter and Latency of the original TR-808

The resulting jitter and latency are: 2.9ms latency + 1.9ms of jitter. This is quite bad for today’s standard, but might be an explanation for the TR-808’s specific ‘groove’.
TR-8oh8 legacy clock mode

The TR-8oh8 can easily emulate this behavior: We use the same interval of 1.9ms to read the clock signal. Furthermore, we can add an appropriate delay between reading the clock and outputting the pulses. This results in the same timing as the original:

2.9ms latency + 1.9ms jitter

TR-8oh8 improved clock mode

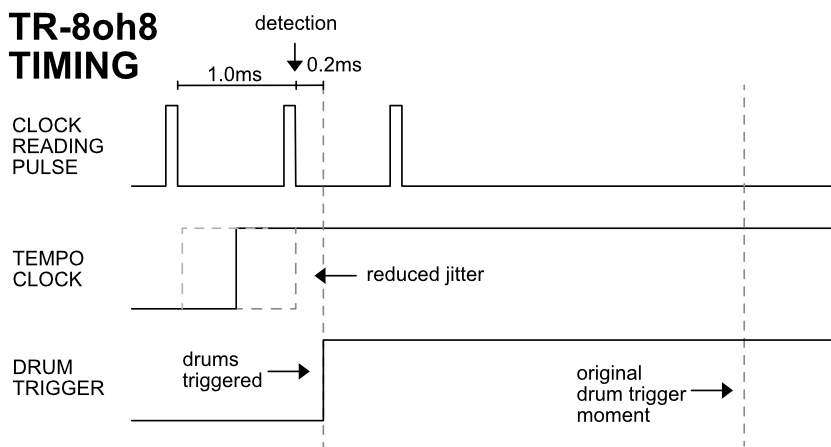
On the other hand, we can actually do better: Read the clock signal more often. Do not wait 2 periods to process the clock signal. Do not add 1ms latency.

In the improved clock mode, we read the clock signal with a period of 1ms, instead of 1.9ms. This practically halves the jitter. We can not reduce the jitter further, as we are also bound by the multiplexing hardware.
We also have much faster processing, reducing the latency substantially:

Only 0.23ms latency + 1.0ms jitter.
Your choice

The improved clock mode exhibits overall better timing, but with the danger of sacrificing the ‘groove’. We therefore decided to implement both the original timing and the improved timing. You can easily switch between them in the config menu.


* Compared to the huge jitter of the TR-808, the clock’s jitter can be neglected.

Pixie CPU

We also measured the timing of the Pixie CPU used by the RE-808 project. Apparently, it uses a 1.7ms instead of 1.9ms timing period. Unlike with the original, this period can also not be adjusted by calibrating the interrupt clock.
So at least from a theoretical standpoint, the Pixie CPU does not perfectly emulate the TR-808’s ‘groove’.
MC-2oh2 firmware 1.1 news

Firmware 1.1 is a major update for our MC-2oh2 mod for Roland MC-202 synthesizers.

In addition to the already rich feature set, the update brings a live recorder with overdub, per-step probability, a swing/shuffle function and various small improvements.

Recording

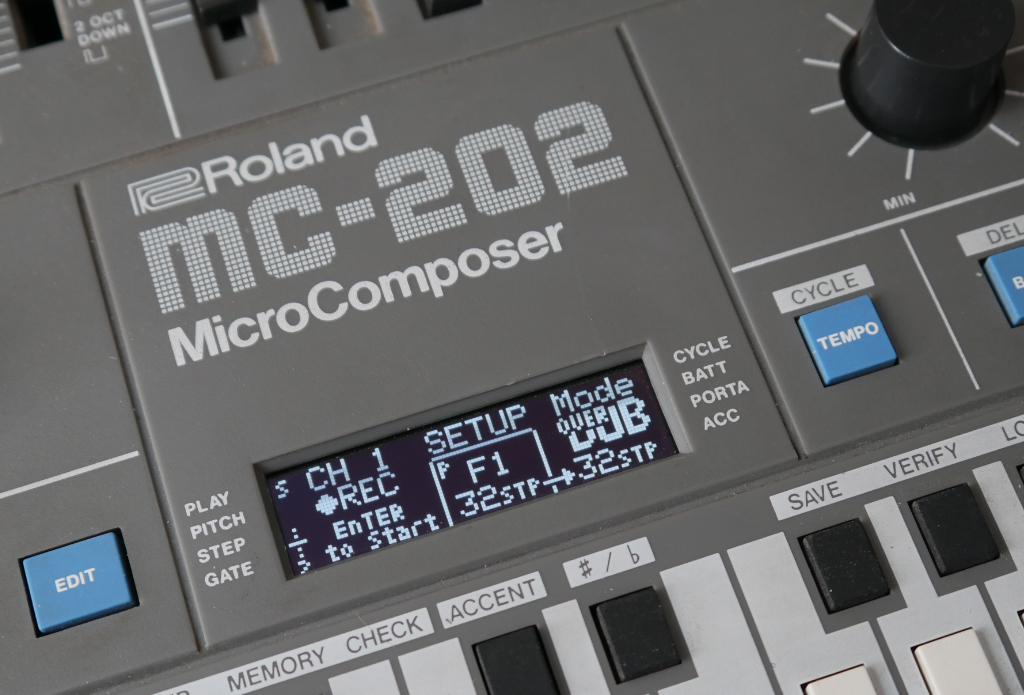
MC-2oh2’s new recording feature can record from the keyboard or the output of the arp. An optional overdub feature allows corrections and ever-evolving patterns. At any time of the recording process, it is possible to switch into the pattern editor and modify the recorded pattern. Afterwards you can continue with the recording without having to stop the sequencer. This is perfect for playing and composing live and a lot of fun!

Per step probability

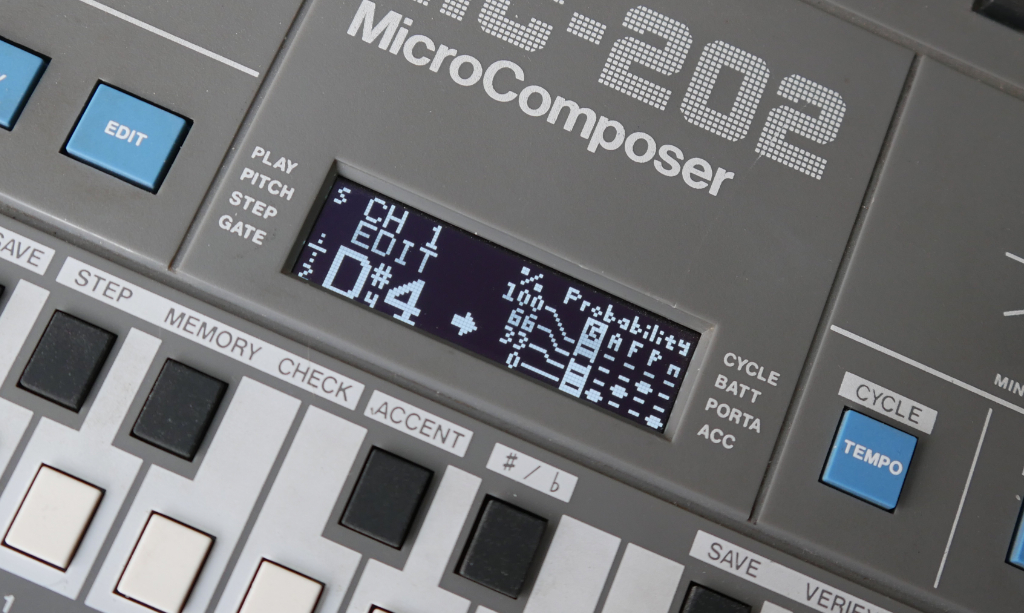
MC-2oh2 now features probability control of the gate and modifiers (accent, filter accent, portamento and noise) of each note. There are four different levels you can set:

0% (always off)
Low (33% probability by default)
High (66% by default)
100% (always on)

The levels for “low” and “high” can be set globally and even changed via midi CC.
When playing a pattern, the probability will be taken into account: If a note accent has a probability of 33%, every third time this note is played, it will trigger accent.

Swing

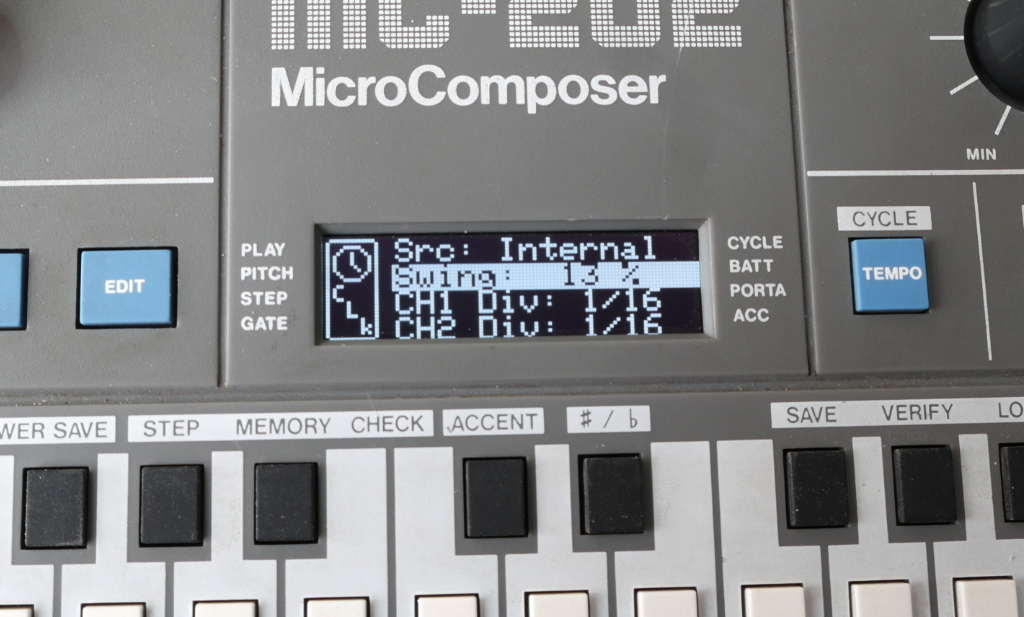
MC-2oh2 now features a swing / shuffle setting. Swing will delay every 2nd 16th note by an adjustable amount between 0% and 99%. Swing can be applied with any type of clock source: Internal clock, DIN-Sync, Midi Clock and trigger.

Performance shortcuts

Two new shortcuts are implemented to further improve MC-2oh2s live performance capabilities:
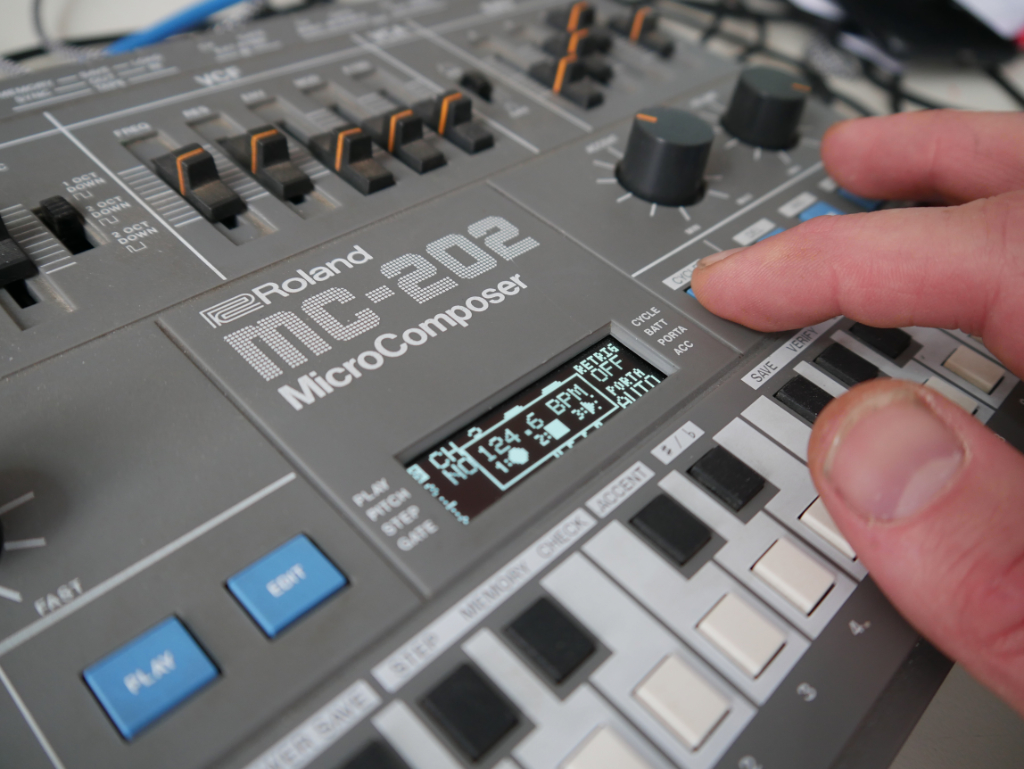
Pressing TEMPO now also shows an overlay with the state of each channel (normal, playing, arpeggiator, recording). With the press of a button you can quickly toggle between a started and stopped state for each channel. This allows quick and easy arrangements. Starting will always happen in sync.

Another shortcut helps to quickly change the channel: Press and hold CHAN and use the DOWN, NORM and UP buttons to select channel 1, 2 or the drum channel.

Screensaver

The new screensaver helps preventing burn-in of the OLED display. We recommend to activate it.

More

There are many more minor improvements and fixes.

Video showing midi to coil

Here is a video showing a custom midi interface developed by Tubbutec for analogue drum machines such as Korg Minipops, AceTone RythmAce, Maestro Rhythm King MRK-2, Roland TR77,…

It has the following features:

  • 16 pulse out channels + Guiro output and pitch control
  • Outputs selectable between +5V..+12V and -12V
  • Fully velocity sensitive
  • Adjustable pulse length between 0.3 and 1.3 ms
  • Midi learn


Upcoming Tubbutec products

Hi,
we’ve been working on a couple of projects recently and I thought I would give you some insight what we are working on.

midisexboard2mid

Prototype of the Midisex retrofit

Midisex

Midisex (a working title) is a retrofit for the Korg Polysix, that adds midi and additional features. It is very easy to install (just plug and play basically) and very compact.

Features amongst others are:

  • Midi in + Midi out
  • Sustain Pedal input
  • Additional play modes: 2Voice, 3 Voice, Polychord, extended unison mode
  • New arpeggiator / sequencer mode: Powerarp
  • All functions are easily accessible via buttons: suitable for live use
  • Midi channels and various other options can be configured without external tools
  • Midi controls arpeggiator, filter and more
  • Very easy to install, no soldering required (except for one solder joint if you want midi controlled filter)
  • High quality midi sockets and sustain pedal jack
midisexboard1mid

Prototype of the Midisex retrofit

Some features explained

2 voice and 2 voice

While the original Polysix only features 6-voice polyphonic, unison and chord memory, this mod adds additional play modes.2-voice and 3-voice polyphonic modes are tradeoffs between the maximum fatness of the unison and the maximum number of voices of the polyphonic mode.

polychord

Polychord lets you assign a chord consisting of up to 6 notes to any key of the keyboard. This can be done very quickly and is very suitable for playing live. Of course you can combine this feature with the normal arpeggiator or the powerarp (see below). This makes it possible to have a sequenced chord progression in the matter of seconds.

extended unsion mode

The unison mode on the Polysix is basically a monophonic mode, but lacking almost all of the features  that most monophonic synths have.The extended unison mode this modification offers changes that.
– legato mode (no envelope retrigger when playing legato)
– key priority up / down / normal

 POWERarp

Powerarp is a feature best described as a sequencer or a custom arpeggiator.
You can define a sequence of up to 64 notes (maybe more), that are then triggered by the arpeggiator clock. Up, down, updown and random are just a few ways to replay this sequence.  You can use this with all play modes including Chord and Polychord, which means you can define complex chord progressions and replay them using the arpeggiator, an external trigger or using midi.

midisexboard3mid

The Midisex board is a direct replacement for the key assigner IC. It is only slightly larger then the original IC and can be replaced without soldering.

The Balancer

Most synthesizers, drum machines and effects only have an unbalanced -10dBV (consumer level) output. In a professional studio or live environment however a balanced connection with professional +4dBu level is desired. This eliminates ground loop induced noise as well as capacitive induced noise.

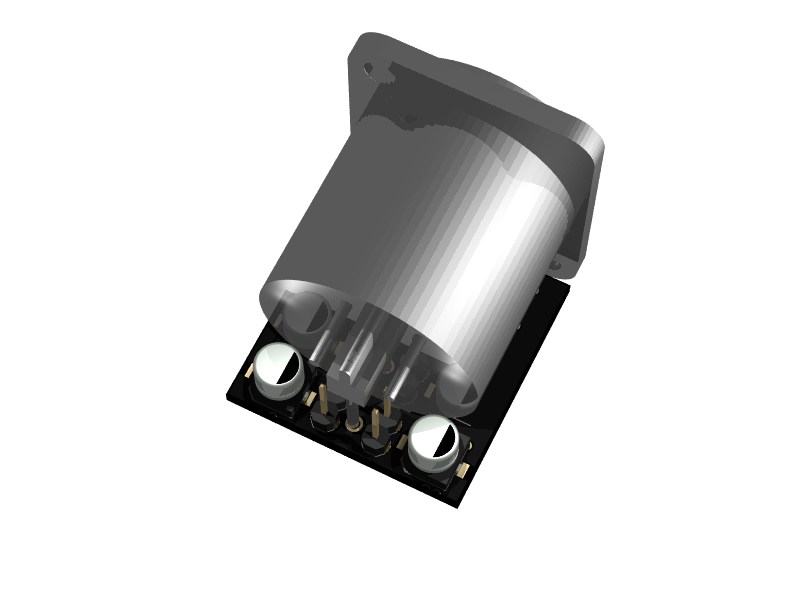
The Balancer (yes, a working title) is a little kit, that converts a -10dBV unbalanced audio signal to the professional +4dBu balanced signal.
It is meant to be built inside the equipment and is only sightly larger then an XLR or Jack connector. You can replace the existing connector, or add the Balancer to have both, unbalanced and balanced outputs.

The picture below shows a crude rendering of the XLR version.

imxlr (5)

Features:

  • unbalanced -10dBV to balanced +4dBu conversion
  • XLR and Jack version
  • Uses high quality Neutrik connectors
  • Very low noise design
  • DC output protection
  • Circuit built into connectors

Polysex boards and front panels

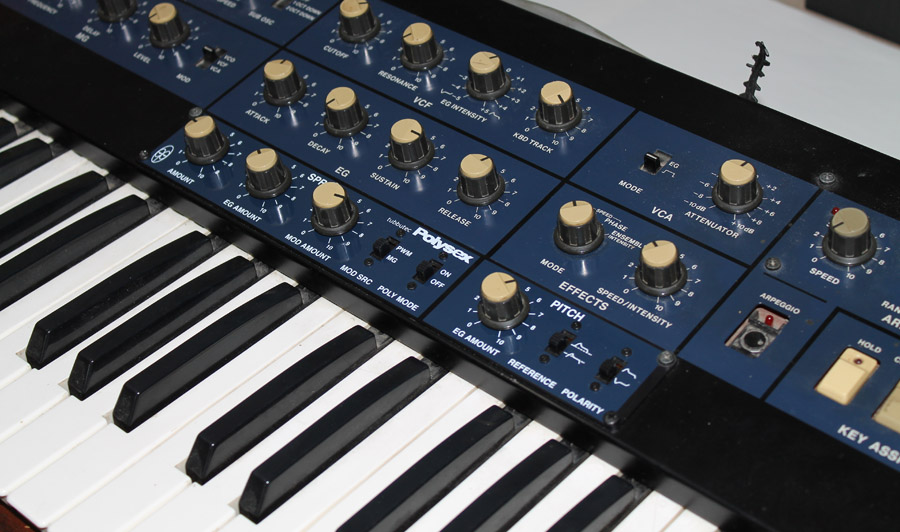
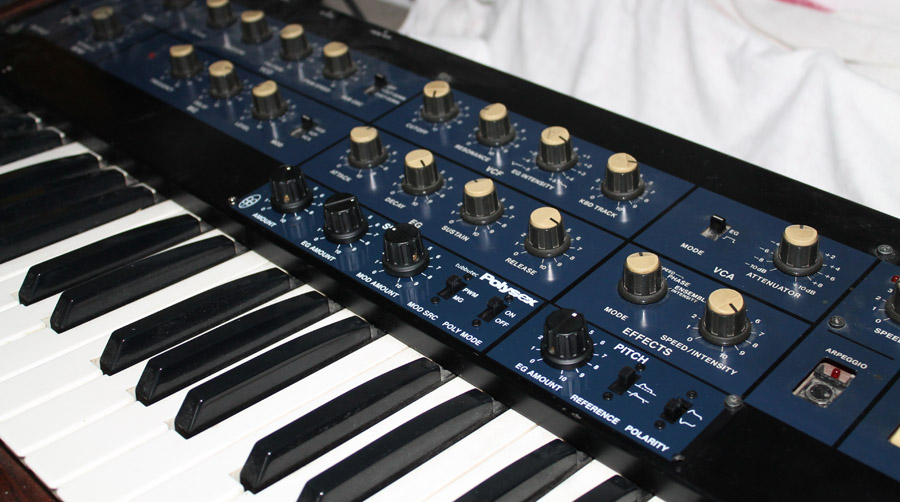
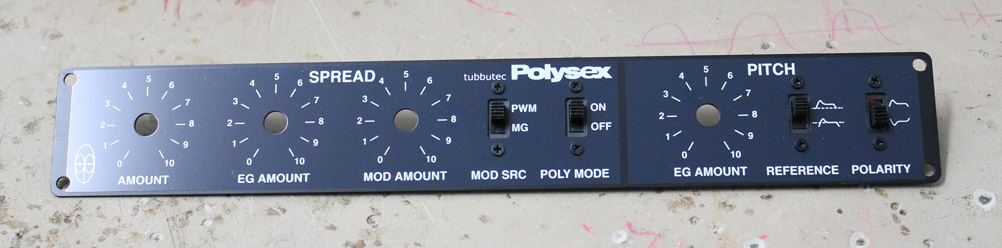
Just a quick post showing you the Polysex PCBs and front panels which arrived today.

Here black knobs were chosen, but it is perfectly possible to use the original Polysix knobs.
The front panel is black anodized aluminum with blue and white offset printing. Note that the blue color matches that of the Polysix very well.

panelonsynth2 panelonsynth3

frontpanel platinen

Tubbutec Polysex – dev blog

Hi,

I thought I let you know what I’ve been doing since the last update. I worked a lot on my Polysix mod and will finally be able to sell it as a kit soon.

frontplatte4

Tubbutec Polysex

What does the Polysex mod do?

There are some sound demos at the end of this article which should give you an impression, of some (but definitely not all) the new sounds which are achievable with this mod.

There are two different mods which can both be used at the same time:

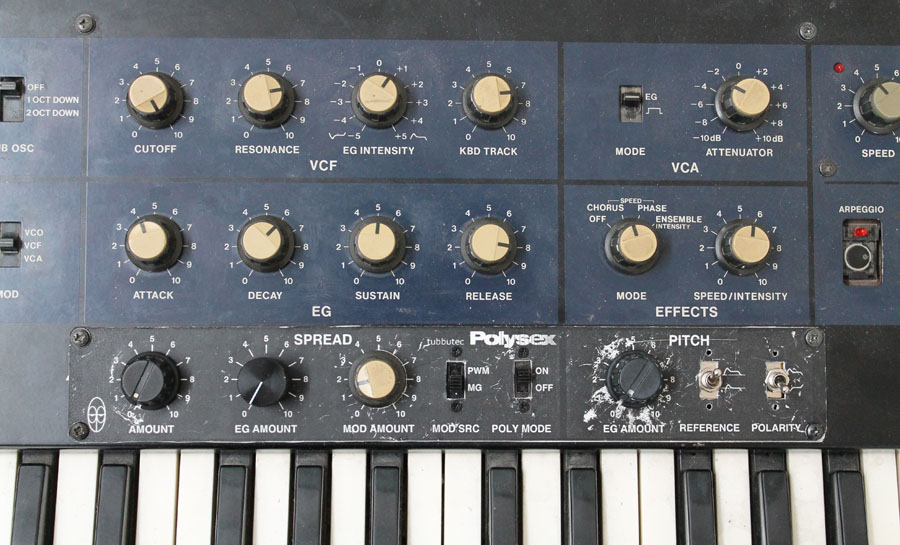
  • The pitch mod routes the envelope to the pitch. You can choose the polarity of the envelope and the reference point in the envelope where the pitch is not changed. This mod is very useful to create portamento like effects, brass instruments, percussive sounds and much more.
  • The second mod is the voice spread mod which is a very powerful tool. You can determine the amount of voice spread, route the envelope and one of two LFOs to it and switch voice spreading on and off in poly mode. This mod can be used to adjust and modulate the fatness of the sound in unison mode, in poly mode you can modulate how detuned the Polysix sounds. This can lead to more natural sounds, but can also be used to accomplish complex sound effects.

What will the kit include?

The kit will include a PCB, all necessary parts and a front panel which you can use to mount the controls onto your Polysix. The front panel is made of fully anodized and printed aluminum and done in Polysix style (see images above and below). Instead of original Polysix knobs the kit will only contain similar ones, but it is possible to use Polysix knobs (one can find used ones). There will be a version with the PCB fully assembled and tested,too.

panelproto

Prototype of the front panel made of plastic. I made this to check if everything fits as intended before having a large amount manufactured properly. The two switches on the right are not the final ones of course and as you can see I try a number of different knobs. The final version will be in Polysix style blue rather than grey.

Is it difficult to build?

No! The Polysex mod was designed as a kit, which means I tried to make it as easy as possible to assemble and install it. You will need basic soldering and metal work skills, but nothing you can’t learn by watching half an hour of a soldering tutorial on youtube. You will have to drill some holes into the metal casing of the Polysix, but precision is not needed because everything is covered by the front panel and will look very nice.

So why is it not already available? How long will it take? What are you doing the whole time?

At the moment I am working on collecting all the parts in larger quantities, getting the front panel and the PCBs produced, writing a manual and setting everything up nicely so you will get a good product and have a fun time 🙂

I have more questions!

Please don’t hesitate to ask them, I will answer and update this little FAQ.

Sound demos:

None of the sound examples make use of the effect section of the Polysix (or any external effects)


A simple arpeggio with mid attack and decay settings. The envelope to pitch amount is slowly increased to achieve a brass instrument like effect.


The whole Polysex mod is used in this example. A little bit of voice spread is set to achieve the sound of a slightly detuned synthesizer. Some more life is added by modulating the voice spread by the PWM LFO. Further more the envelope is routed to the pitch with the reference set to the sustain level and the polarity to negative, so that it pitches up as the sound decays.(The recording is a little bit distorted unfortunately)


Polysix in unison mode with the envelope routed to voice spread, long attack and release.
At first the reference is set to the sustain level, so the sound starts very dissonant, becomes more consonant and fat until it becomes a slowly phasing sound. As the key is released it reverses into dissonance.
The second time the reference is set to the zero level, the sound starts consonant, becomes dissonant and then consonant again.


An arpeggio in unsion mode. The voice spread amount is slowly increased – the sound becomes fatter and denser.


This sound demo uses voice spread modulated by the a fast PWM LFO.


Chords with long release and short attack, envelope routed to voice spread, with the sustain level as reference. As the chords decay, the sounds becomes more and more detuned. Sometimes the attack is set longer to achieve a sound that starts dissonant and increases in consonance.


The envelope is routed to the pitch to achieve a bass drum like percussive sound. The filter is modulated and different decay times and sustain levels are being set.