This manual describes how to install our uniPulse midi retrofit in a Hohner Automatic Rhythm Player.
After installation you will be able to trigger all 10 sounds, most of them fully velocity sensitive. You will not be able to sync the internal rhythms to midi clock however.
Soldering pulse triggers
Installation is fairly simply and requires you to solder 10 wires from uniPulse to points on the Rhythm Player voice board. These are P1-10 and CV (as labelled on the back of the uniPulse board). The black P7 wire is not used.
Unplug the machine, remove the slotted screws and open it. Then solder the wires as shown in the following pictures. The “CV” connection used for the Maracas needs an additional diode. Any Diode is fine here. As you can see, the cathode of the diode (marking) connects to the cathode of the existing diode.


 Installing uniPulse GND and VCC
The supply voltage connetions for uniPulse are GND and VCC. Note that the GND wire is red and the VCC wire is brown, unlike normal conventions.
The following pictures show the locations to solder the VCC and GND wires:


INstalling the midi socket
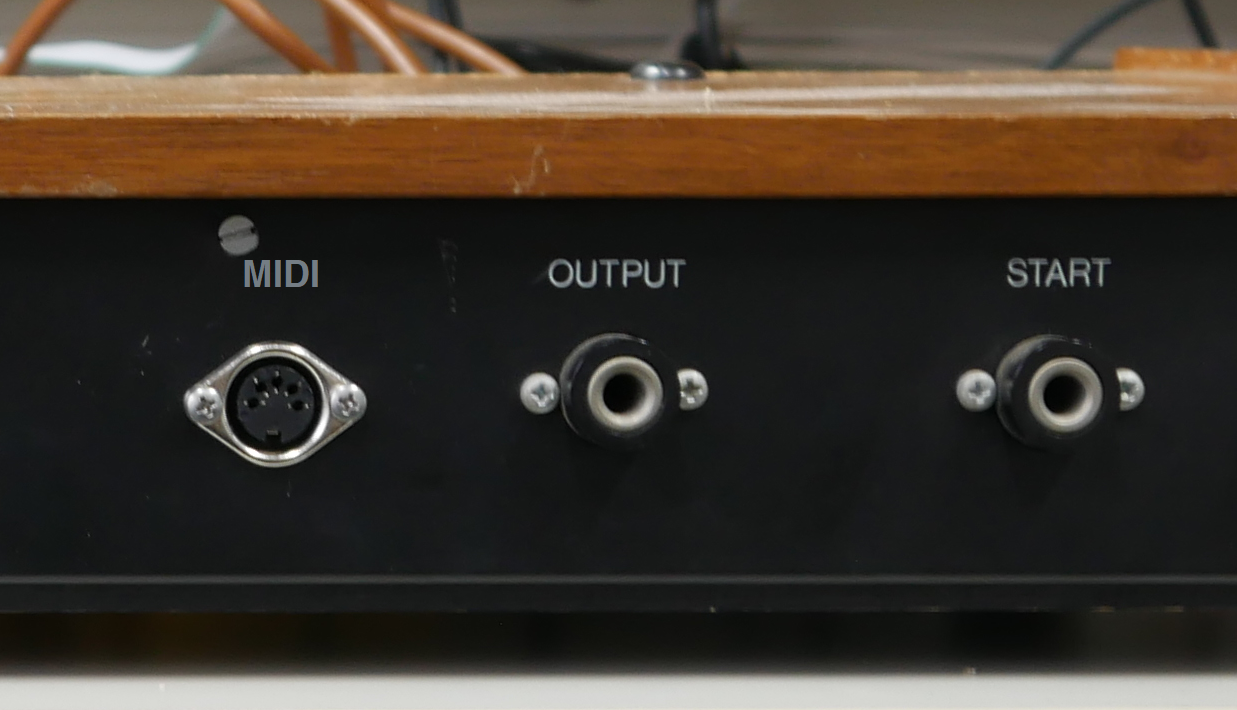
In order to install the midi socket you need to drill 3 holes. A stencil for drilling is provided. For the large hole you can use a stepping drill. Now mount the socket using the screws provided.
Mounting the unipulse board
You can mount the uniPulse board anywhere in the machine. We decided to use thick double sided tape to mount it on the rear. Make sure the board can not short to the metal chassis.

first start
After installation, plug in the machine and turn it on. The LED on the uniPulse board should light up indicating proper power connection. Using the uniPulse configurator tool, upload config file for the Hohner Rhythm Player (zipped, extract before opening in the configurator)
That’s it! have fun!