
This manual describes how to use and install the uniPulse midi interface in a Hohner Rhythm 80 drum machine.
Installation requires soldering some wires and drilling holes for the midi socket. However no need to cut any traces.
Picture by Beatkamp
After installation you will be able to trigger all sounds via midi, most velocity sensitive.
Bass Drum
Snare
Hihat
Cymbal
Maracas
Low Conga
Low Bongo
High Bongo
Claves
Cow Bell
Installation
Unplug the Rhythm 80 when working on it!
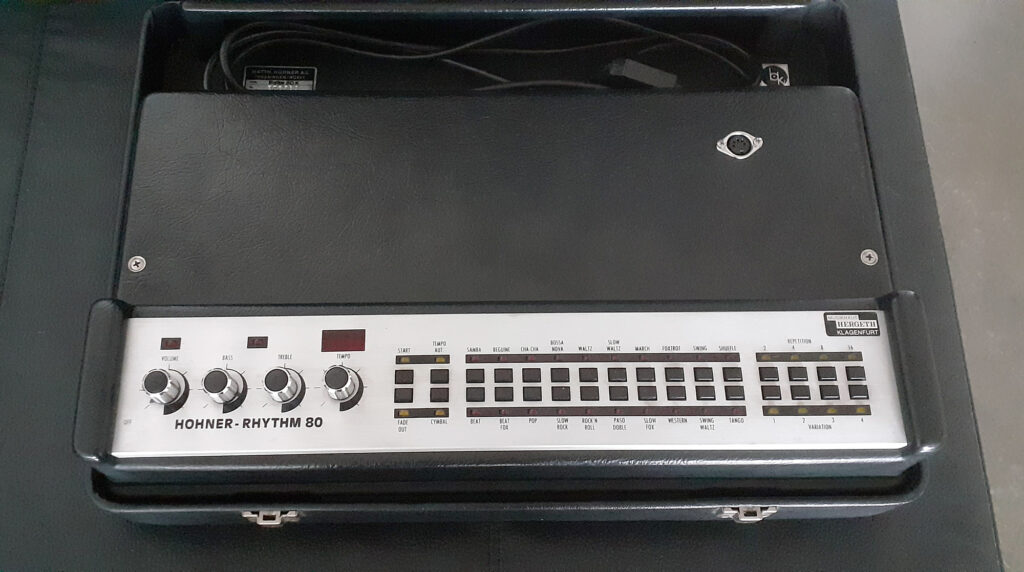
After opening up the enclosure, you are presented with the following view of the boards:

Trigger connections
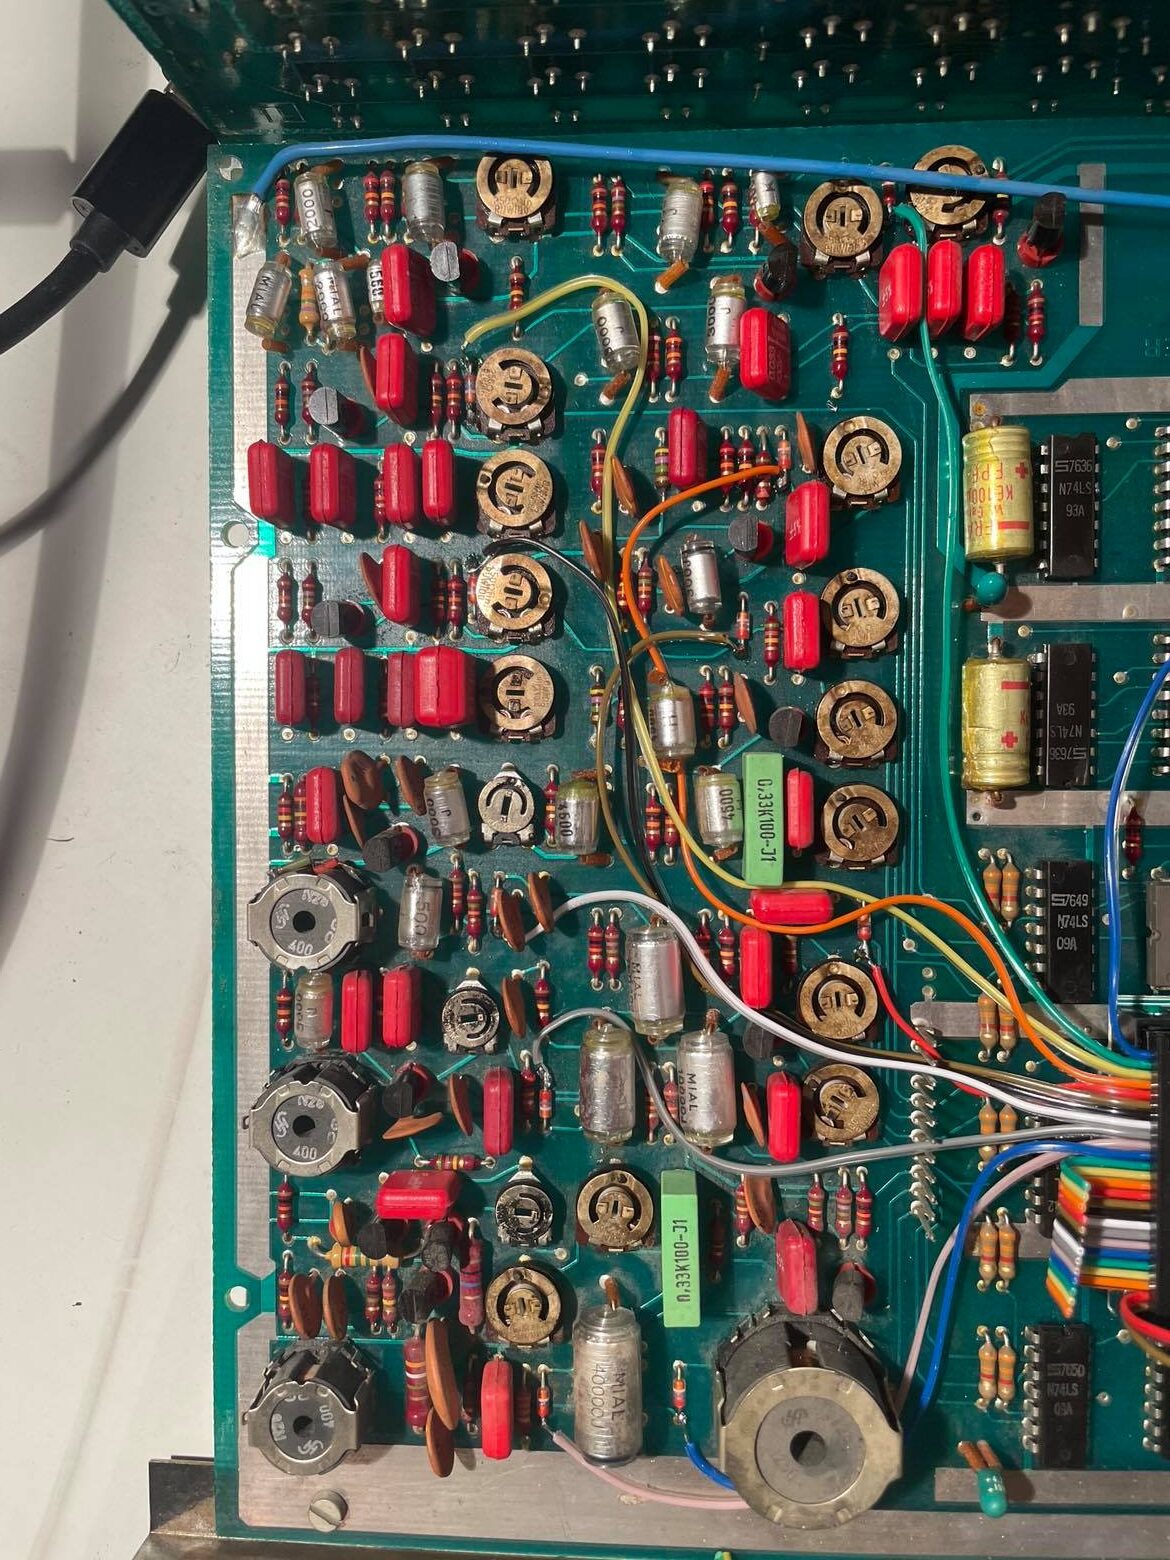
You now need to solder the Pulse outputs P1-P11 to the points marked in the picture below. These are all cathodes of diodes.

An 11ths diode is located to the right here:

Note that there are 10 instruments, but 11 trigger points. This is because the Cow Bell consists of two separate sounds. With uniPulse you can trigger these sounds individually or simultaneously depending on your configuration settings in the uniPulse configurator.
Power connections
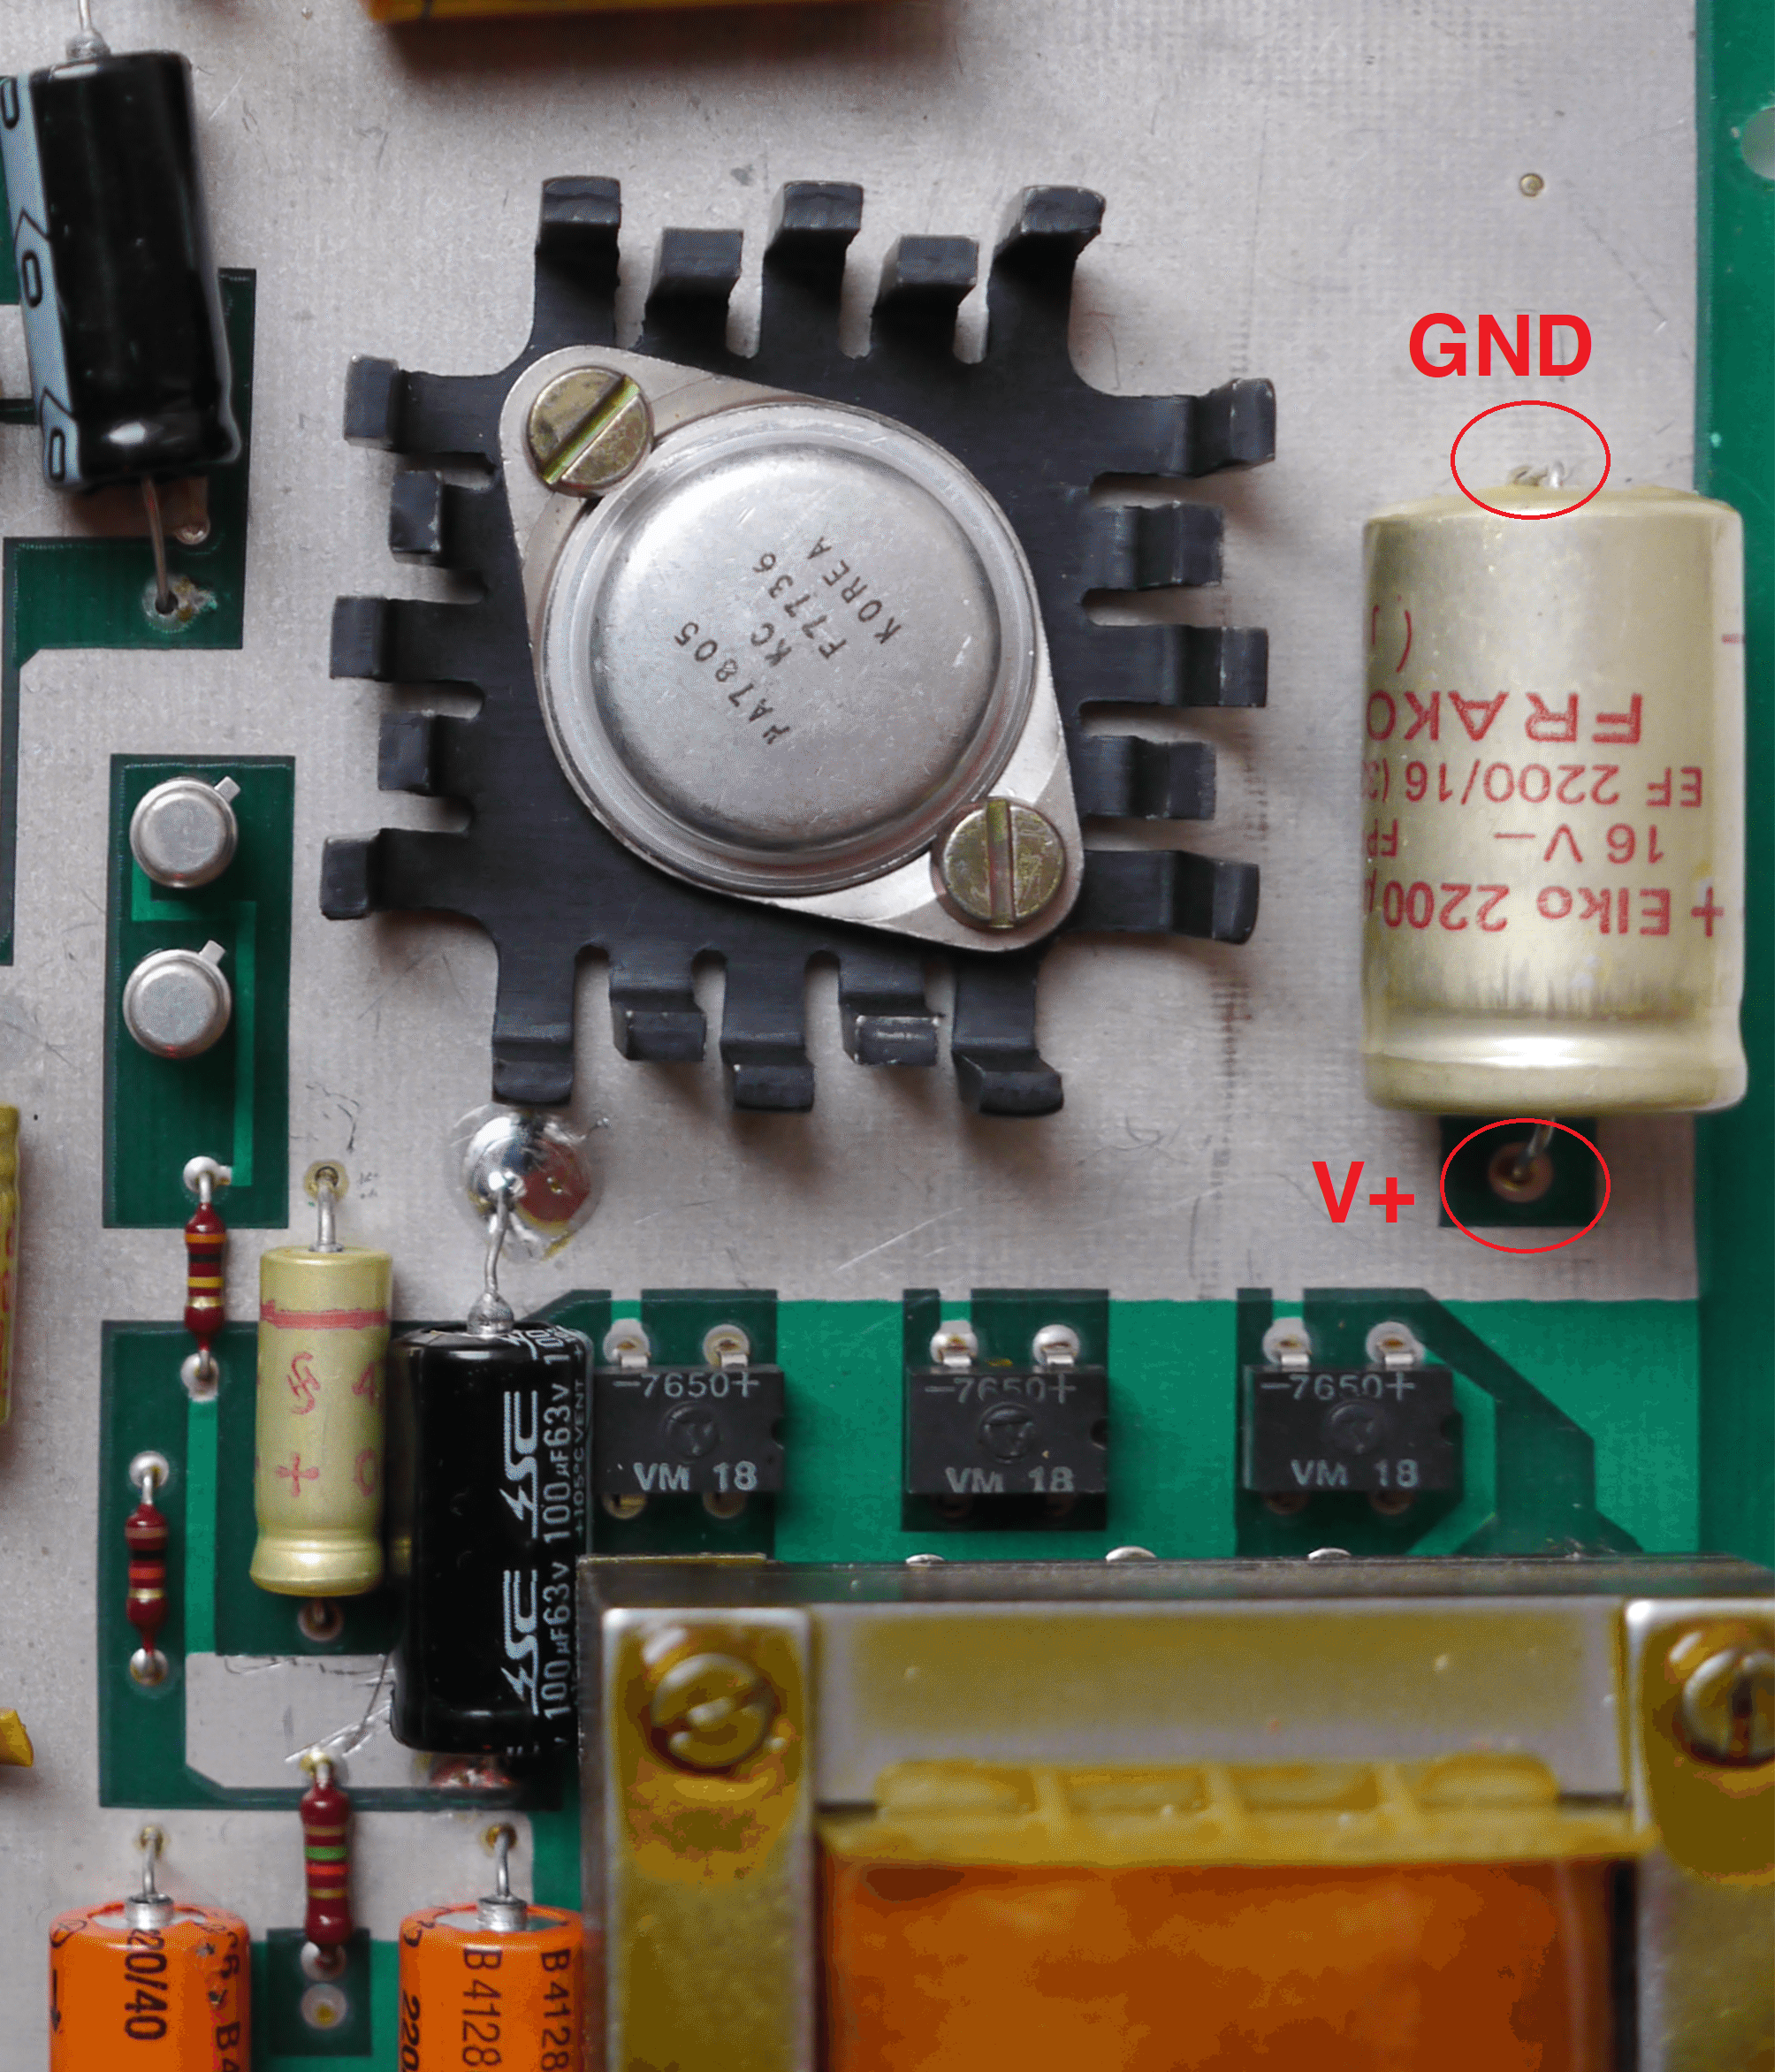
Solder the brown +V and red GND wires from uniPulse to the points shown below.
 A first test
After soldering the wires, you can carefully place the uniPulse board on a non-conductive surface and turn on the machine. The red LED on the uniPulse board should light up.
You can now also test the midi connections by plugging in midi in and use the configurator to trigger the instruments. Use the config file here (right click, save as).
Midi socket
After soldering all trigger connections, you need to drill three holes to mount the midi socket. A stencil for drilling is included in the kit. You can place the midi socket wherever you like. The uniPulse board should also be mounted firmly in the case.
How to use
The configuration file and following remarks were provided by Beatkamp. Thank you
“The Hohner Rhythm 80 will not make a sound without the “START” button being
activated.
Simply press “START” without any “VARIATION” buttons active.”
“I don’t know what P1 does. It goes to the “11th diode” as specified in
the Tubutec guide.
After fooling around with it, determining its somehow part of the cowbell, I
linked it as such.”