
UDPDATE:
DCB cover panel – solutions
The DCB cover panel for the Juno-66 was designed to fit the Juno-60 here in the Tubbutec headquarters.
As it turns out there are however either two different versions of the Juno-60 (with respect to the panel mounting).
While our Juno-60 uses self-cutting screws to mount the panel, one customer reported that his Juno-60 uses machine screws.
There are multiple possibilities to use our panel – which was designed to work with self-cutting screws.
- Cut a thread. This is by far the cleanest solution. By using a die for M3 screws, cut a thread in the two holes on the sides of the Tubbutec DCB panel. The holes are large enough and no additional drilling is needed beforehand.
- instead of cutting a thread use a 3.5 mm drill to enlarge the two holes, then use the original Juno-60 screws in combination with 3mm nuts to mount the panel.
- Use black self-cutting screws instead of the original ones.
We apologize for the inconvenience. From now on the panels will ship with a thread so it will work with both, machine screws and self-cutting ones.
Juno-6 becomes a Juno-66: pictures
Michael Kukat did an amazing job servicing a Juno-6 and installing the Juno-66 mod. With the flawless soldering and carefully placed components the pictures get an aesthetic touch. These are worth a look at – even if you don’t plan to install the Juno-66.
More pictures after the break;

Juno-66 video
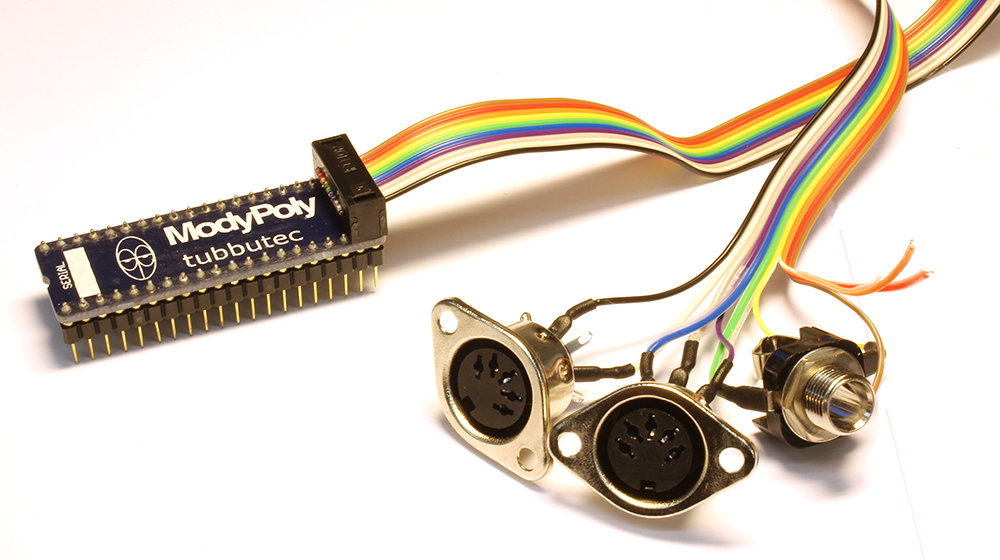
ModyPoly for Mono/Poly demo video
Poly-61 CV injection points
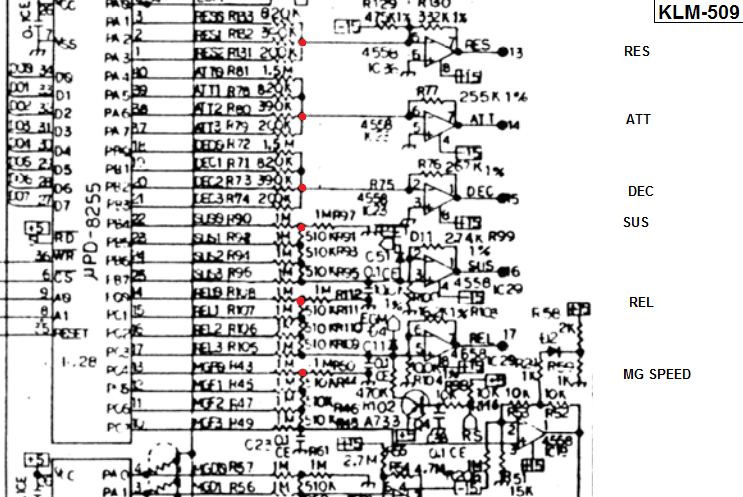
These are some CV injection points of the Poly-61. You need to connect the CV with an additional resistor. Try 100k.Decrease the value for a stronger effect and increase it for a weaker influence.
If you connect one side of the potentiometer to +15V and the other one to -15 you can adjust the value up and down with the center position as default. In this case use the following resistor values:
Cutoff: 100k
Res: 330kAttack: 330k
Decay: 330k
Sustain: 220k
Release: 220k
MG speed: 220k
These give you about the same range as the original controls.
In case you are using the CV outtputs of the ModyPoly, connect a 100nF capacitor across the negative input and the output of the opamp to filter out high frequencies.
This is not tested but I am pretty sure it is working.
[edit: Cutoff, resonance, attack and decay work very well. Very complicated to add control to the other parameters]
ModyPoly now in stock
Tubbutec ModyPoly – the successor of the Modysix is now in stock.
It has the same features as the Modysix, except that it looks better, fully supports Korg Mono/Poly, has an additional 3rd CV-out and has different midi sockets.
More infos on the ModyPoly page.
You can order it now in the Tubbutec shop.
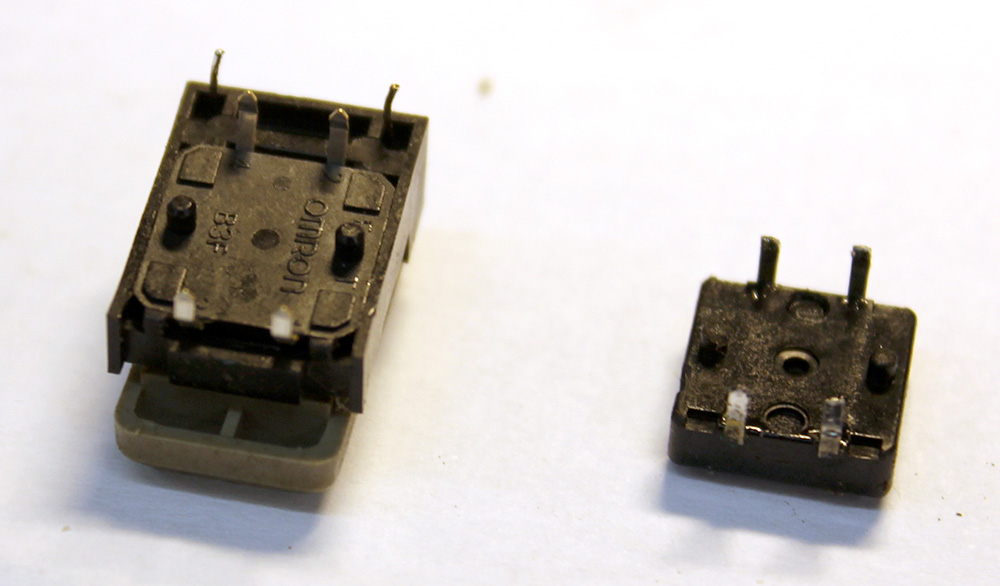
Replacing Polysix buttons
A lot of Polysix’s I worked with had worn or even broken push buttons. As the Modysix mod makes use of five Polysix buttons (POLY, UNI, CHORD, HOLD, ARP), the workflow will also be dependent on the quality of these. If your buttons are sticky or very hard to push, I recommend replacing them.
This is how to do it:
Step 1:
Take off the panels with the buttons KLM-371. You need to remove the arp knob, and the brass screws on the back.

Step 2:
Desolder the four pins of the button and the two led pins. You can now take out the button. Sometimes it helps to wiggle it a bit until it comes lose.

Step 3:
Replace the button with a replacement, it should fit perfectly. You can now solder button and led back in.
Polysex + Kiwisix video
Beautiful video showing a Polysix with Tubbutec Polysex and Kiwitechnics Kiwisix mod.
Each voice taking awhile to come into tune and every voice just a little different from each other. You can get lost for days just getting creating sounds and arpeggiating them.
-Eyepatch Entertainment