
Michael Kukat did an amazing job servicing a Juno-6 and installing the Juno-66 mod. With the flawless soldering and carefully placed components the pictures get an aesthetic touch. These are worth a look at – even if you don’t plan to install the Juno-66.
More pictures after the break;

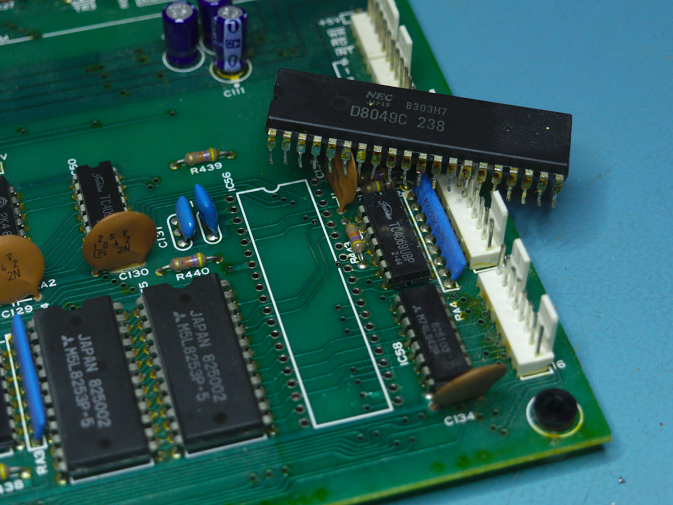
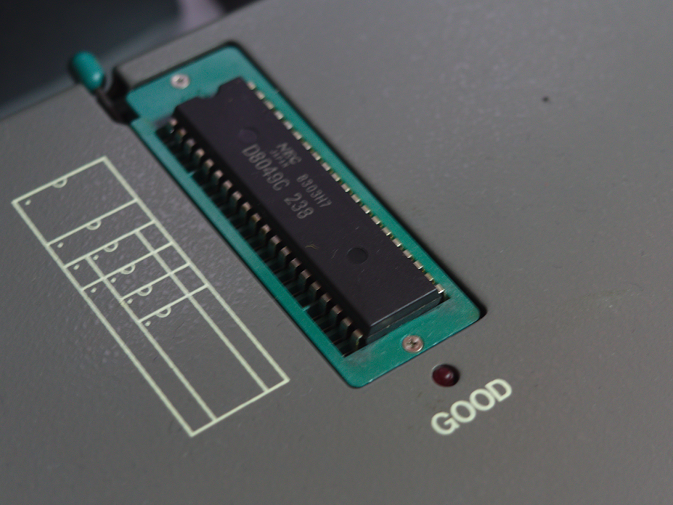
The CPU after desoldering
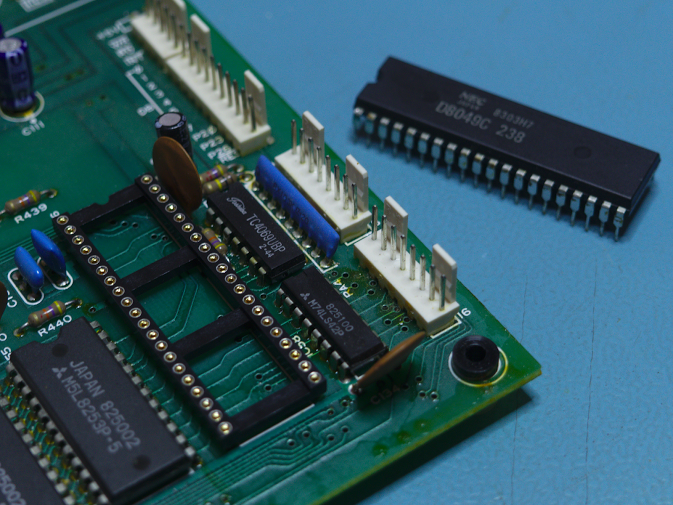
The socket for the Juno-66 board soldered in
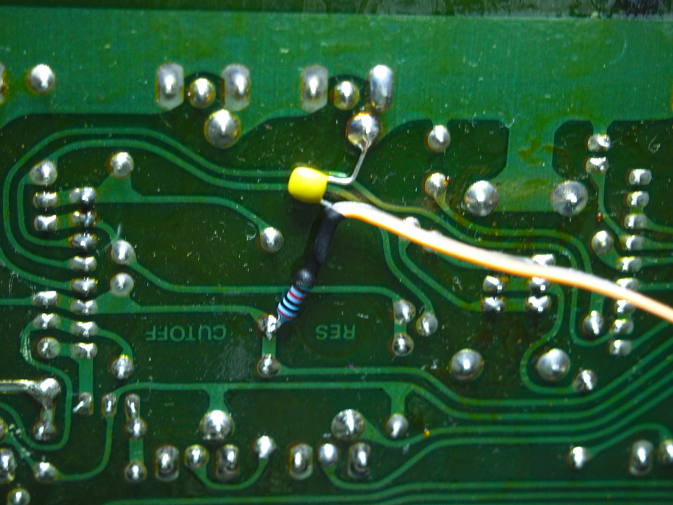
Filter wire soldering
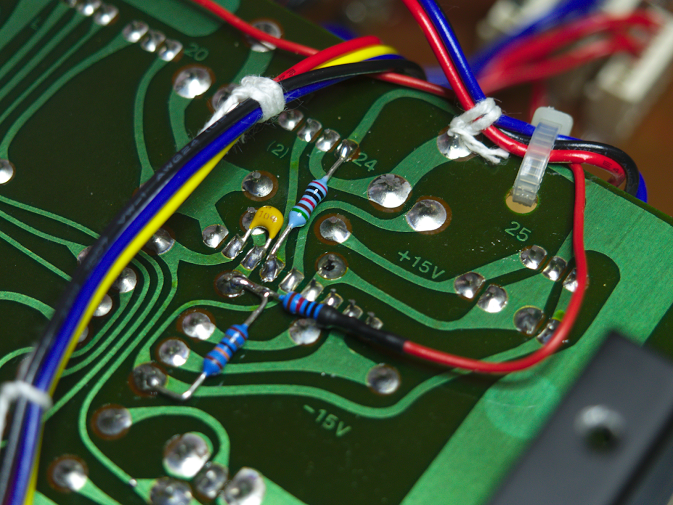
Parts for pitch bend control
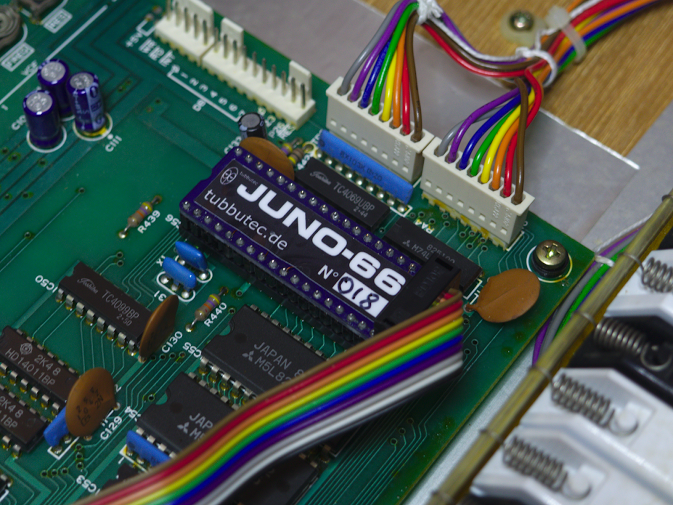
Juno-66 installed in the socket
Michael Kukat collects firmware images. Here he reads out the original Juno-6 firmware. He even disassembled the firmware of the Poly-61 MCU.

Newly installed midi sockets on the back
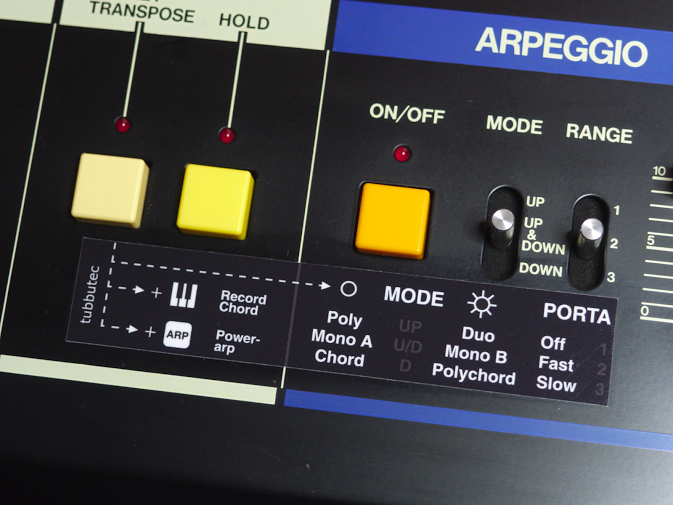
The sticker showing the new functions
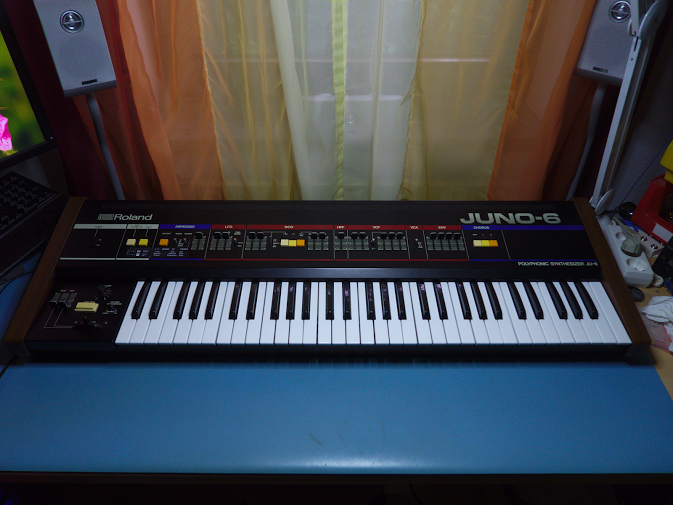
The finished built