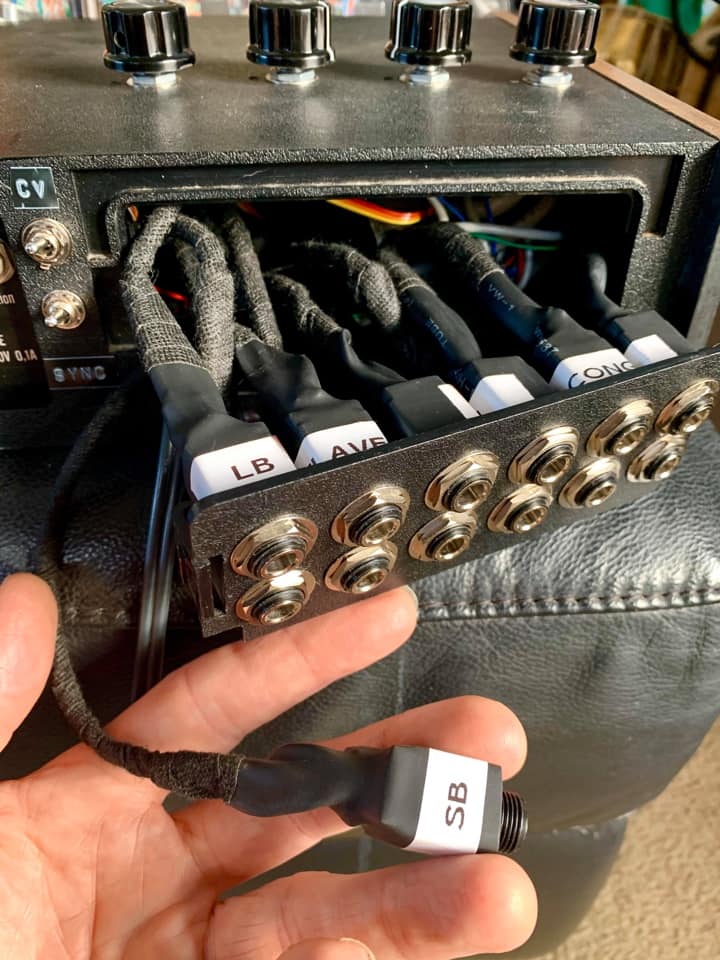
After installing the UniPulse in your Korg Mini Pops 7 you can also add individual outputs for each instrument.
 Picture by Telharmoneum, Install by Simon Ayton
Fifteen different outputs are available, but of course you can only install some of them – for example 12 like in the picture above.
PRE IN Bus
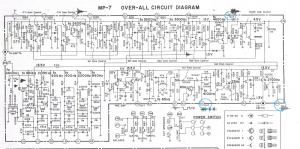
Many of the instruments are connected to the “PRE IN Bus” which is marked red in the schematic. To gain access to each instrument connected to the “PRE IN Bus”, you have to desolder one pin of each resistor connected to it. Leave the other resistor pins connected.
It is not too easy to find the resistors on the board itself so numbered the spots where you have to desolder the pins.


Pre-in connections – overview
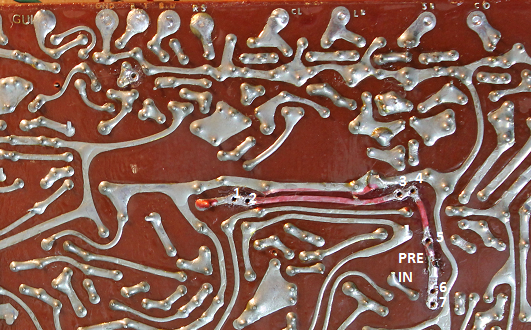
Pre-in connections 1 – 7

Pre-in connections 8 and 9
1 – 47k (Rim Shot)
2 – 33k (Claves)
3 – 82k (LB)
4 – 330k (SB)
5 – 100k (Conga)
6 – 82k (CB)
7 – 68k (CB)
8 – 680k (SD1)
9 – 470k (SD2)
Now solder the jack’s signal pins to the resistor pins.We used switched jacks. This way the instruments will be connected internally when nothing is plugged in.

Note that the 68k and the 82k of the cowbell have to be soldered together, unless you want to have both parts of the CB sound available independently.

Percussion
However not all instruments are connected to PRE IN.
The following instruments just need a direct connection from the board to the sockets: TAM, GUI and QUI. The solder points are marked below.
 Base Drum, High Hat, Cymbals


Originally the base drum, high hat, cymball and the percussion instruments are mixed together. To separate the instruments you again have to desolder several resistor pins as marked in the following pictures. The spots where the cuircuit is opened are marked by two black lines. Once again you have to use switched jacks to close the circuit as long as no male jacks are inserted.


1 – 47k (BD)
2 – 330k (HH)
3 – 47k (CY)
Solder wires from the desoldered resistor pins to the socket’s tips and from the socket’s switch contact back to where the resistors were connected originally (marked in the picture above).
Ground
All output sockets need a ground connection. Any point labelled GND on the board will do.
The final result could look like this (image by Telharmoneum, thank you very much!)