

So the story goes like this:
The previous owner in a desperate attempt to fix a partially broken keyboard managed to scrape of all the conductive material from the rubber strip.
Usually when I fix rubber pad based keyboards like this, it is usually enough to put some graphite spray on a Q-Tip and gently apply some of it to the pad. In this case none of the keys where working and even though the usual approach brought back some keys, it didn’t work very well. So I decided for a full renewal:
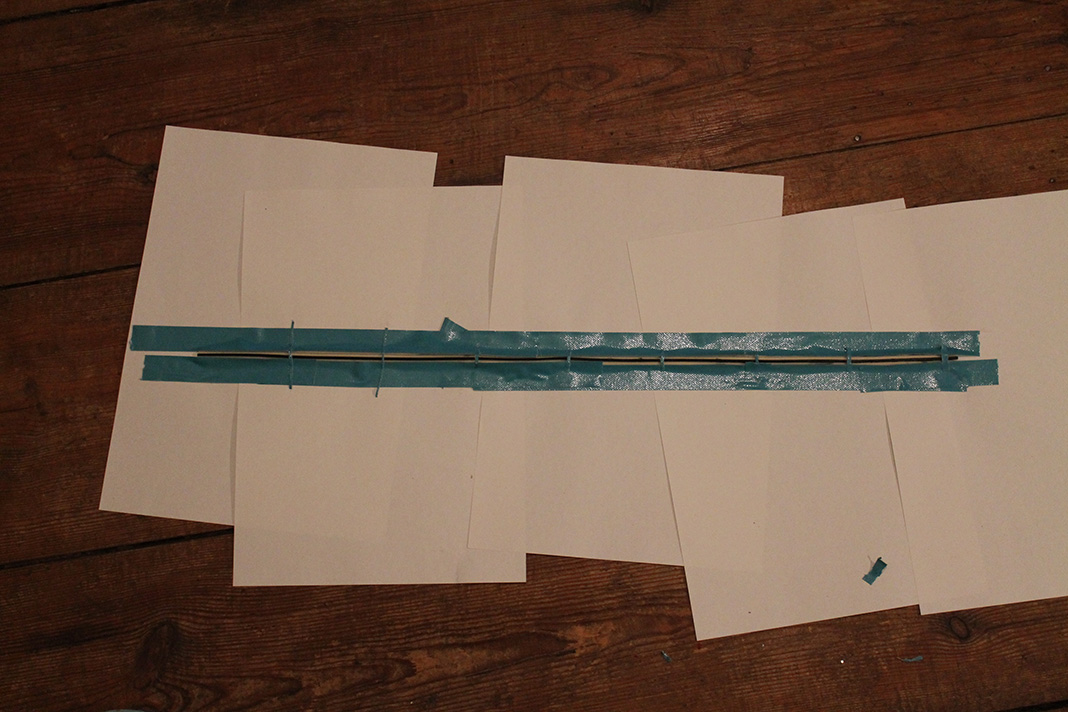

Cover all parts of the rubber contacts that shouldn’t be conductive…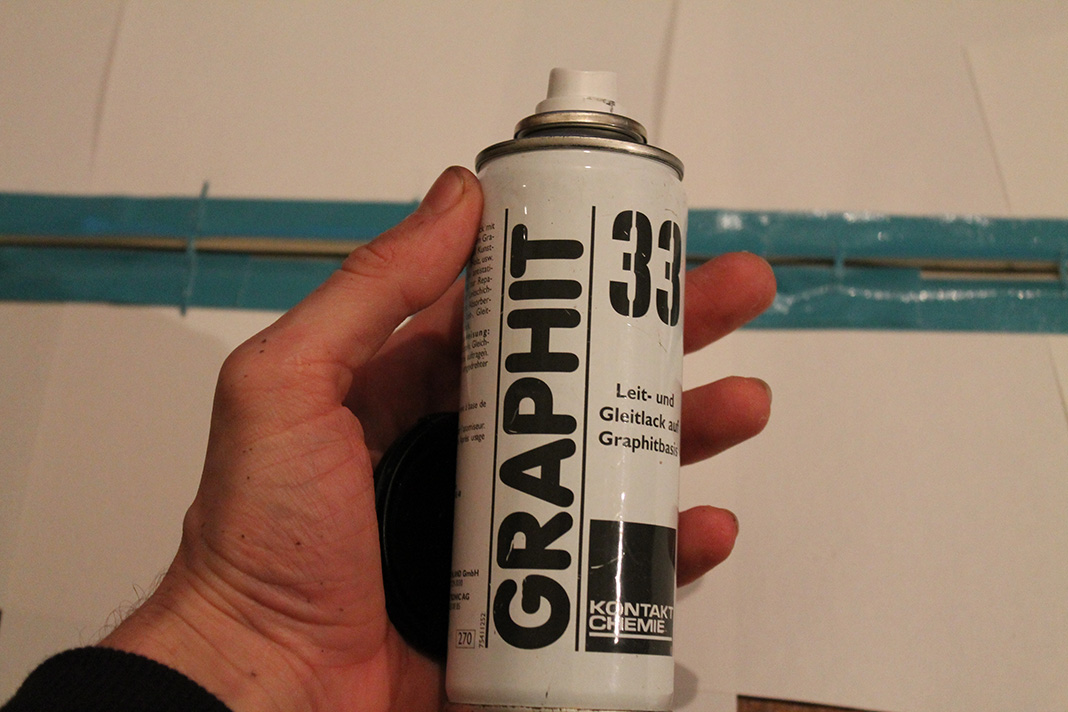
…use some nice graphite spray….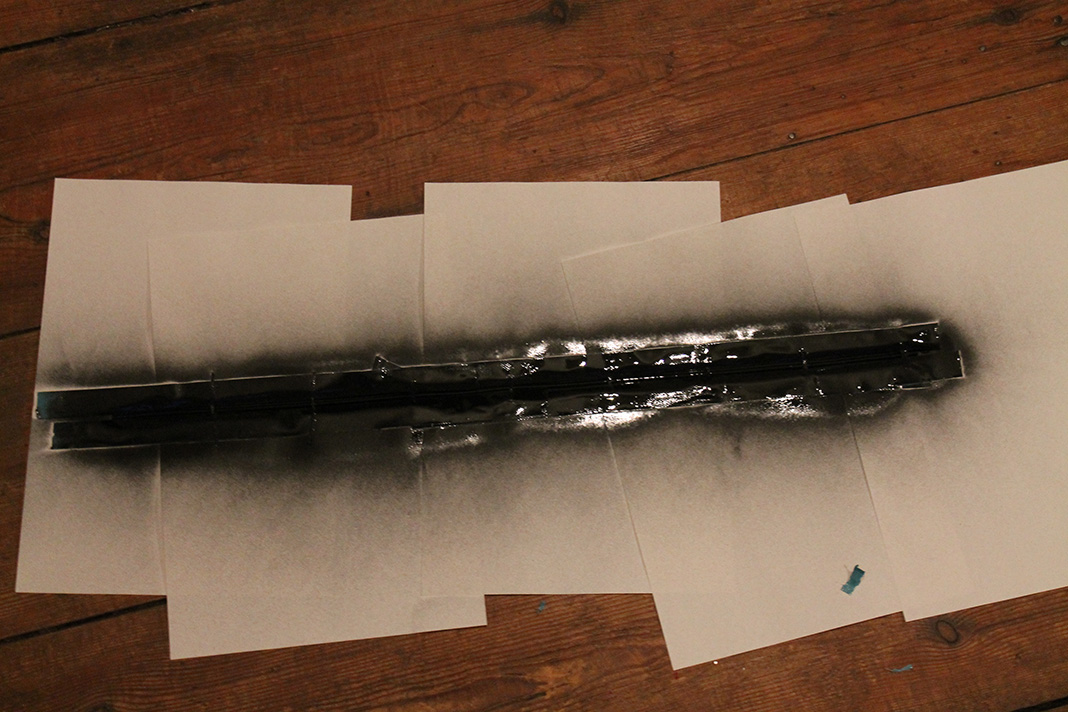
…woooo….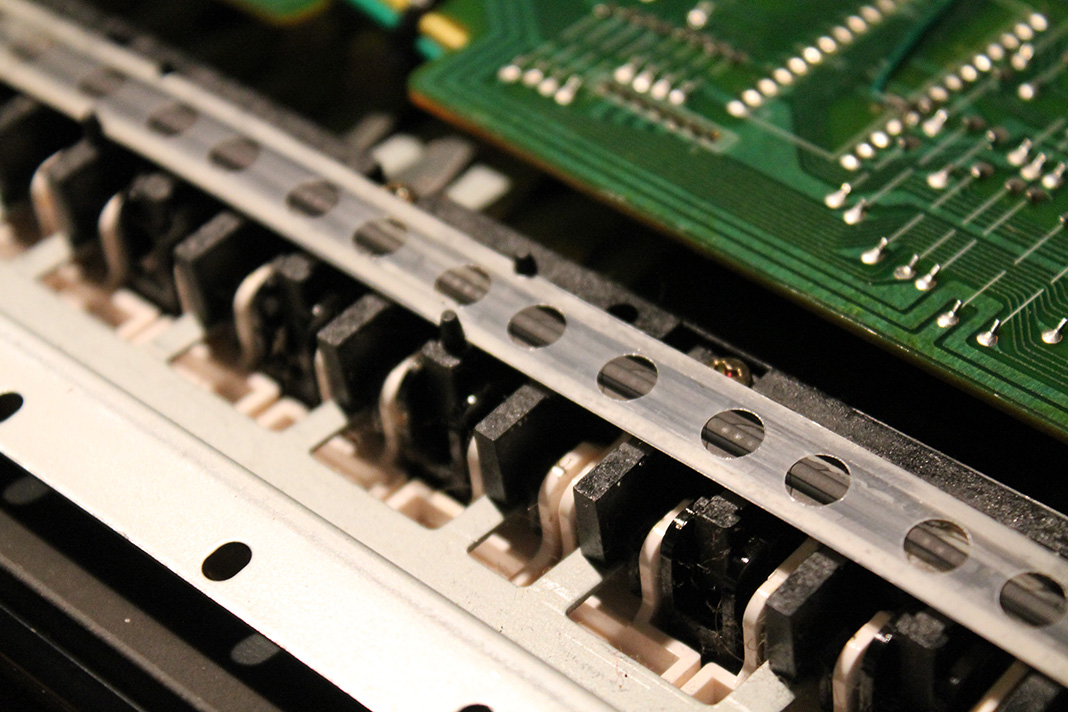
…and put it back in.
The Yamaha DX100 works again like a charm 🙂