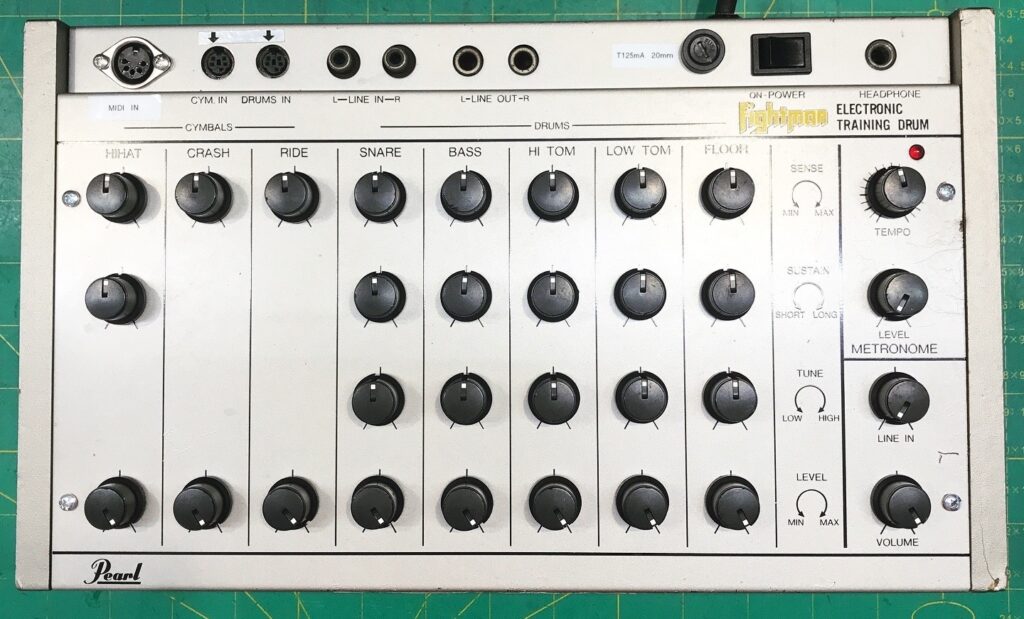
Pearl FM-8 Fightman uniPulse installation

These instructions show how to connect the uniPulse to your Pearl Fightman in order to trigger the instruments via midi.

Instructions are generously provided by Matt Padden. Thank you!

All instruments can be trigggered:

36: Kick
37: Snare
38: Hat
39: Hat Pedal (off: closed; on: open) *
40: High Tom
41: Low Tom
42: Floor Tom
43: Crash
44: Ride

* Note that to achieve an Open Hat, the ‘Hat Pedal’ note must be held down while the ‘Hat’ note is played.

Installation instructions as PDF

Configuration file

Korg Mini Pops 45 MIDI with uniPulse

This manual shows how to install uniPulse in a Korg Mini Pops 45 and trigger all 10 instruments via Midi.

The installation is fairly simple and only requires soldering a few wires and parts into place, as well as drilling a hole for the midi socket.

Trigger connections

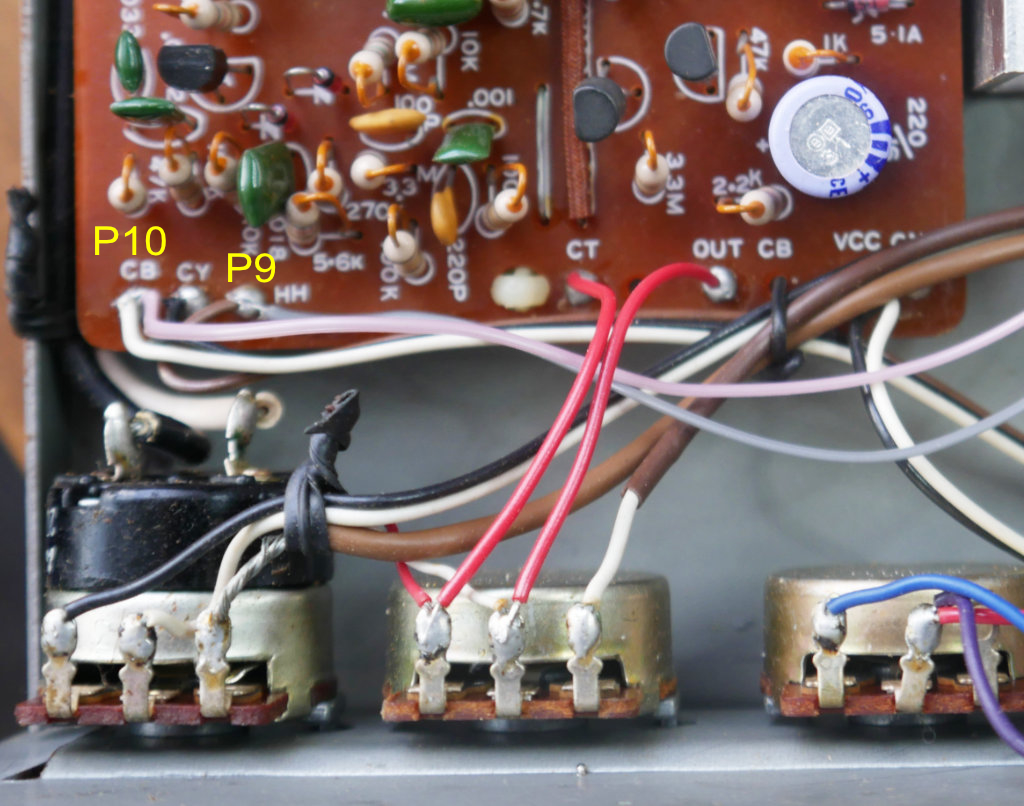
Here we see the 10 trigger points for the various instruments. These are trigger outputs P1-P10 from uniPulse directly soldered to the trigger points.

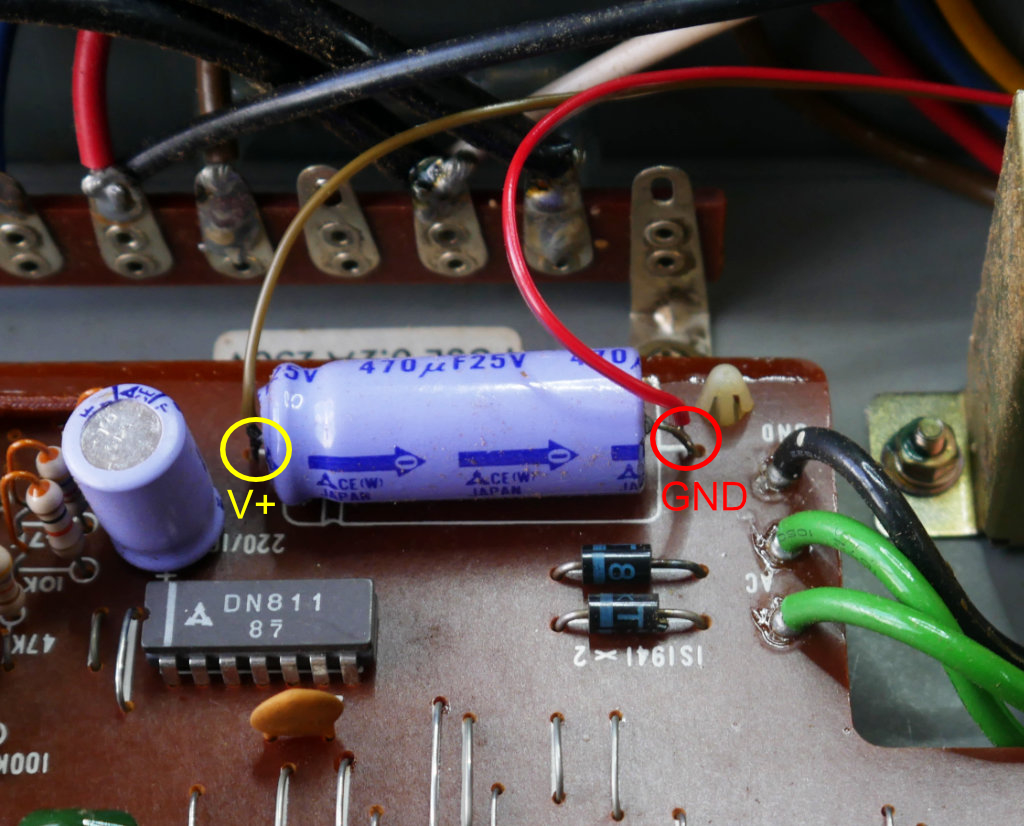
In order to power the uniPulse you just need to solder the brown (V+) and red (GND) wires to the electrolytic capacitor shown in the picture.

Installing the midi socket

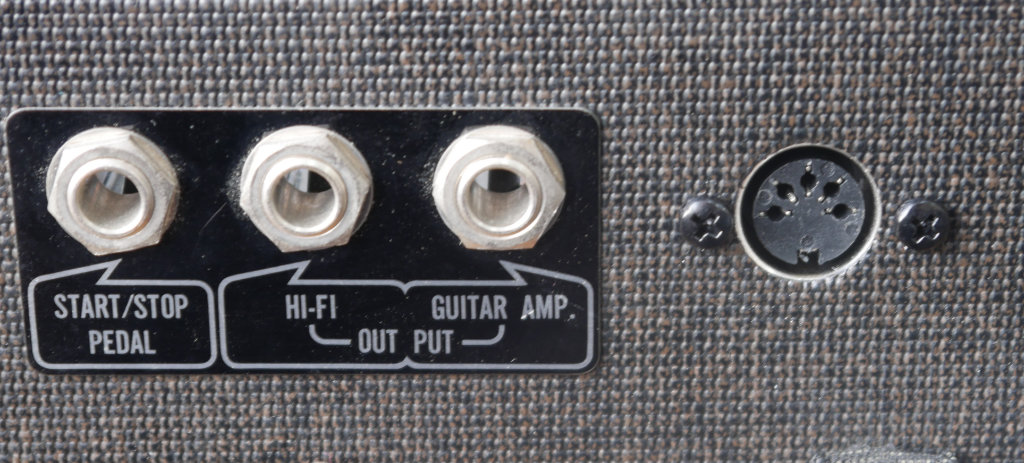
Installing the midi socket is simple. A drill guide is included in the kit. Any location is fine, we chose to install the socket next to the audio sockets.

Config file upload

After installing uniPulse, turn on the machine and make sure the LED on the uniPulse is turned on. This means it has power and is running.
Connect midi and use the config tool to upload the following configuration.

Config file (right click, save as)

have fun!


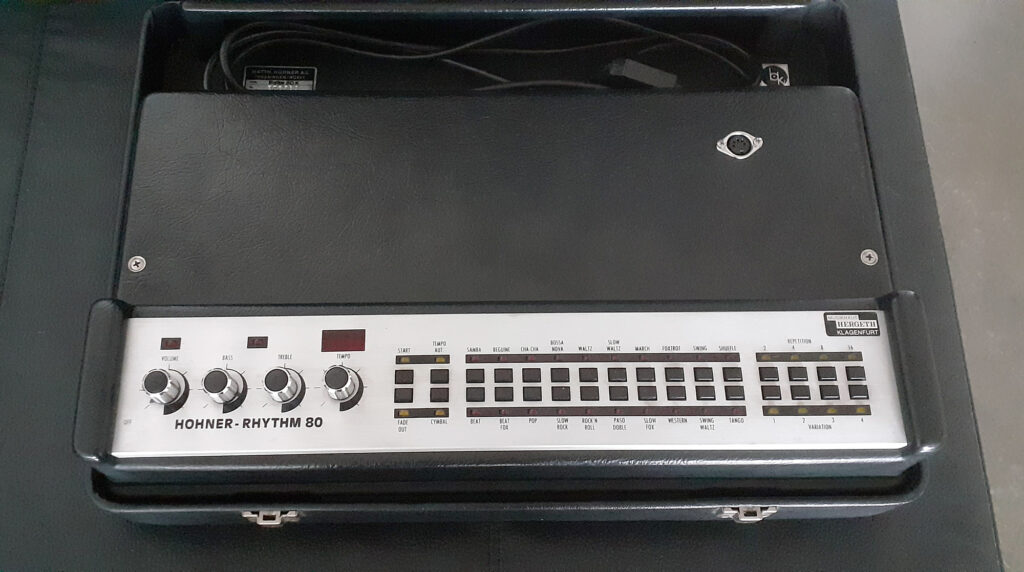
Hohner Rhythm 80 Midi with uniPulse

This manual describes how to use and install the uniPulse midi interface in a Hohner Rhythm 80 drum machine.

Installation requires soldering some wires and drilling holes for the midi socket. However no need to cut any traces.

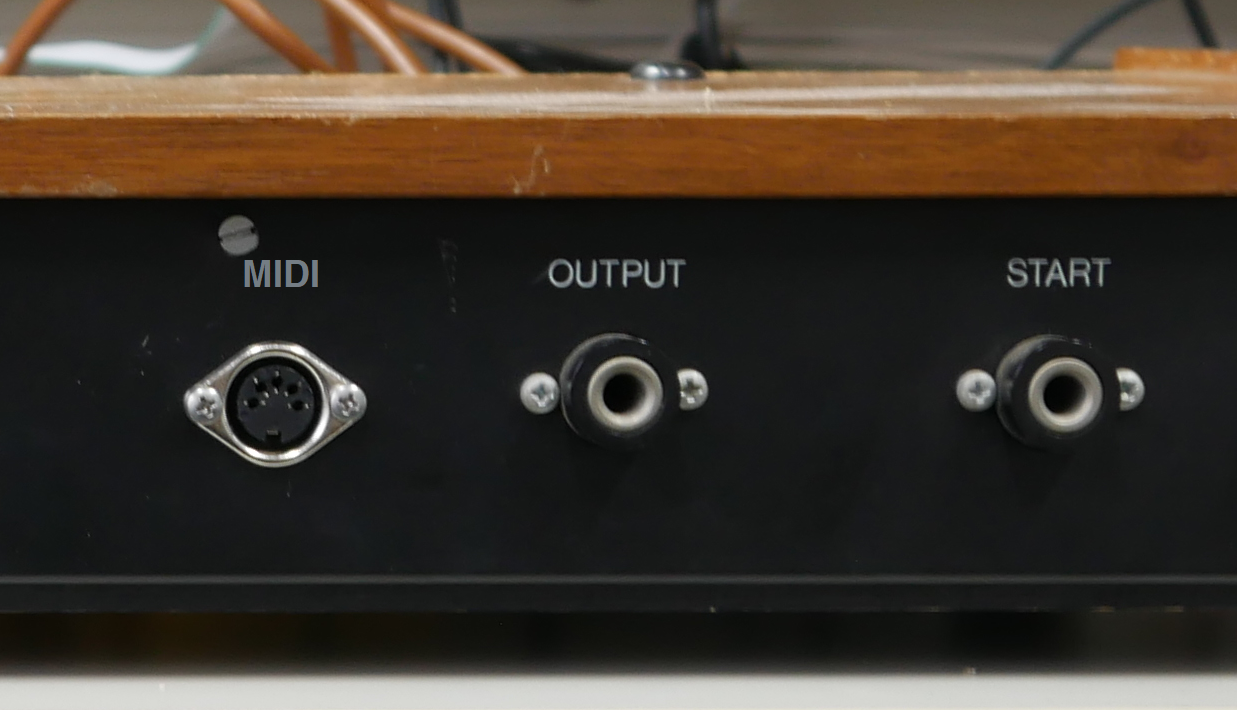
midi socket installed in a rhthm 80

Picture by Beatkamp

After installation you will be able to trigger all sounds via midi, most velocity sensitive.

Bass Drum
Snare
Hihat
Cymbal
Maracas
Low Conga
Low Bongo
High Bongo
Claves
Cow Bell

Installation

Unplug the Rhythm 80 when working on it!
After opening up the enclosure, you are presented with the following view of the boards:

Continue reading

Hohner Automatic Rhythm Player Midi

This manual describes how to install our uniPulse midi retrofit in a Hohner Automatic Rhythm Player.
After installation you will be able to trigger all 10 sounds, most of them fully velocity sensitive. You will not be able to sync the internal rhythms to midi clock however.
Soldering pulse triggers

Installation is fairly simply and requires you to solder 10 wires from uniPulse to points on the Rhythm Player voice board. These are P1-10 and CV (as labelled on the back of the uniPulse board). The black P7 wire is not used.

Unplug the machine, remove the slotted screws and open it. Then solder the wires as shown in the following pictures. The “CV” connection used for the Maracas needs an additional diode. Any Diode is fine here. As you can see, the cathode of the diode (marking) connects to the cathode of the existing diode.

Installing uniPulse GND and VCC

The supply voltage connetions for uniPulse are GND and VCC. Note that the GND wire is red and the VCC wire is brown, unlike normal conventions.
The following pictures show the locations to solder the VCC and GND wires:

INstalling the midi socket

In order to install the midi socket you need to drill 3 holes. A stencil for drilling is provided. For the large hole you can use a stepping drill. Now mount the socket using the screws provided.

Mounting the unipulse board

You can mount the uniPulse board anywhere in the machine. We decided to use thick double sided tape to mount it on the rear. Make sure the board can not short to the metal chassis.

first start

After installation, plug in the machine and turn it on. The LED on the uniPulse board should light up indicating proper power connection. Using the uniPulse configurator tool, upload config file for the Hohner Rhythm Player (zipped, extract before opening in the configurator)

That’s it! have fun!

Boss DR-55 midi and more

Using the TR-606 uniPulse version

The following guide shows how to install the ‘normal’ uniPulse version in the DR-55. This does however require a new case and additional power supply.
It should however be possible to install the ‘TR-606’ version of uniPulse instead. It is much smaller and should fit inside the case. We do not have a guide for this yet, but it should be pretty straight forward:
For the trigger points, the install guide below can be used. The 606 uniPulse has 2 supply voltage inputs, both of which I would connect to the 6V behind the power switch.
If you would like to try this, you may get in touch and we can supply further information if needed.

Continue reading