This manual describes how to add velocity sensitive midi to the Rhythm Ace FR6 using uniPulse.
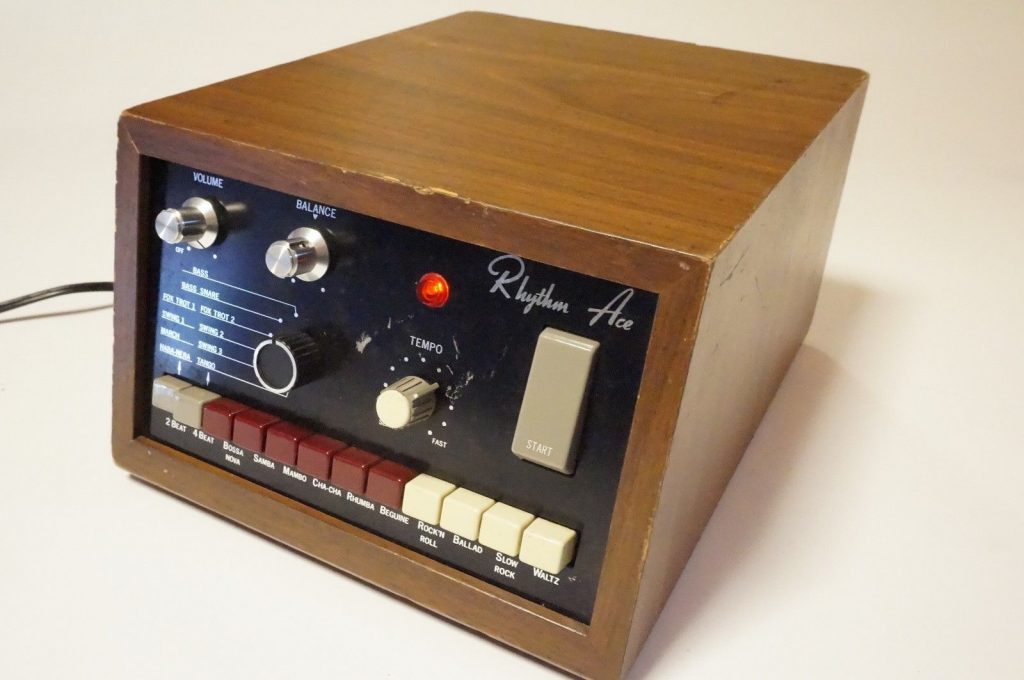
Picture via Matrixsynth
This was not tested by us, but a friendly customer provided pictures and a schematic drawing for the sync circuit after a successful installation. Thaks to Pieter Vochten.
Configuration file is here. (Right click, save-as)
Trigger
The picture below shows the trigger point locations. Just solder uniPulse wires P1 – P8 to these points.
Board overview, Unipulse triggers soldered in place:
Board placement:
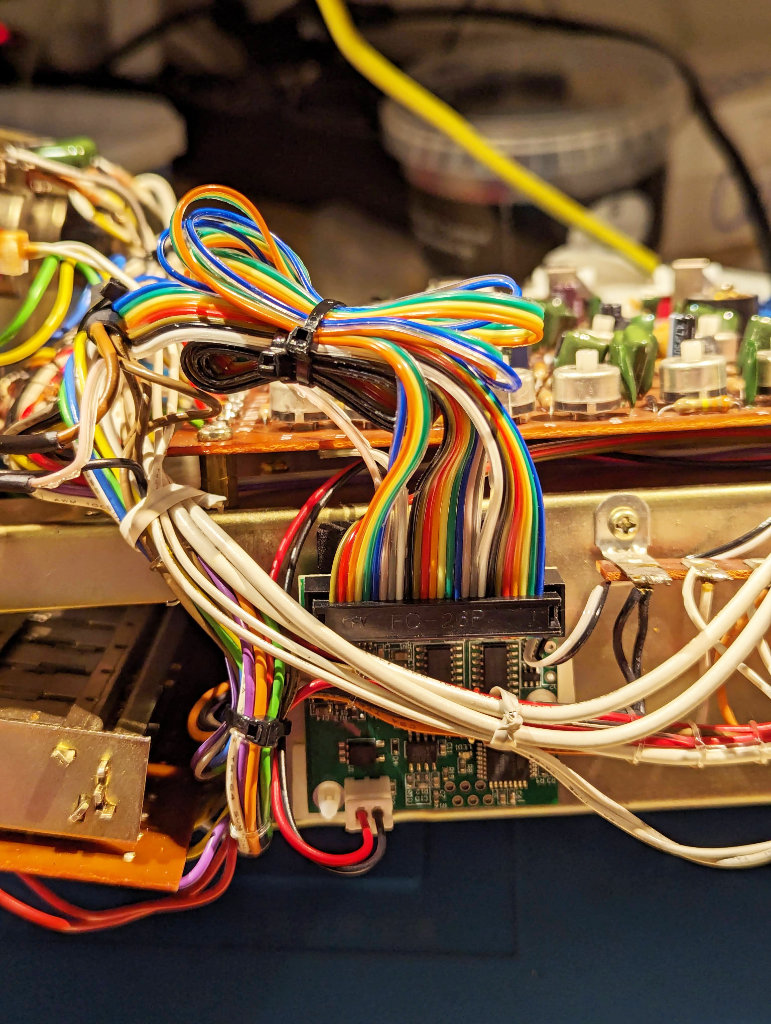
Connections on backside:
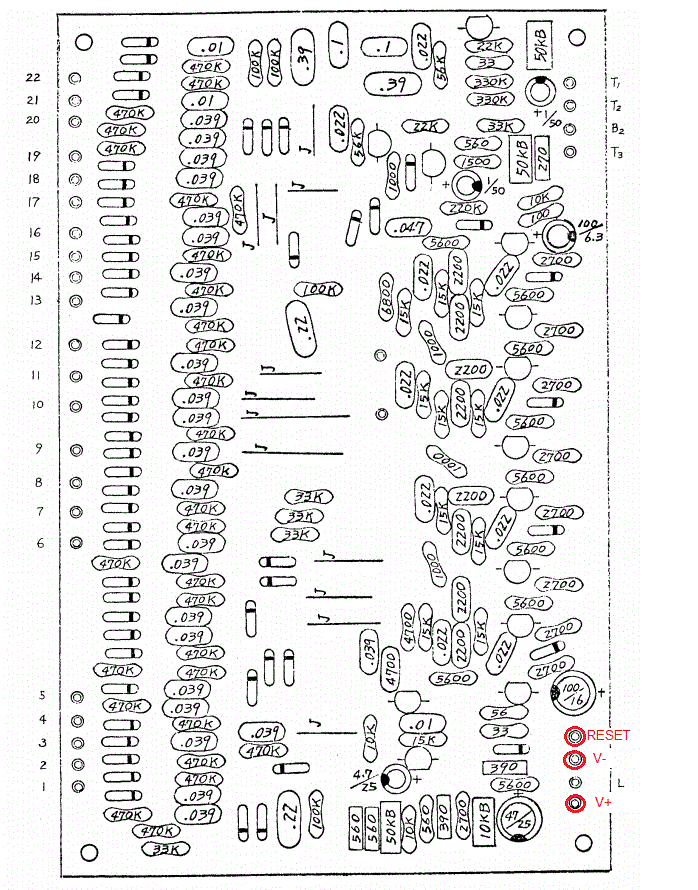
uniPulse power
Solder unipulse wire V+ to the V+ point shown in the picture below. Solder uniPulse GND to the V- point.
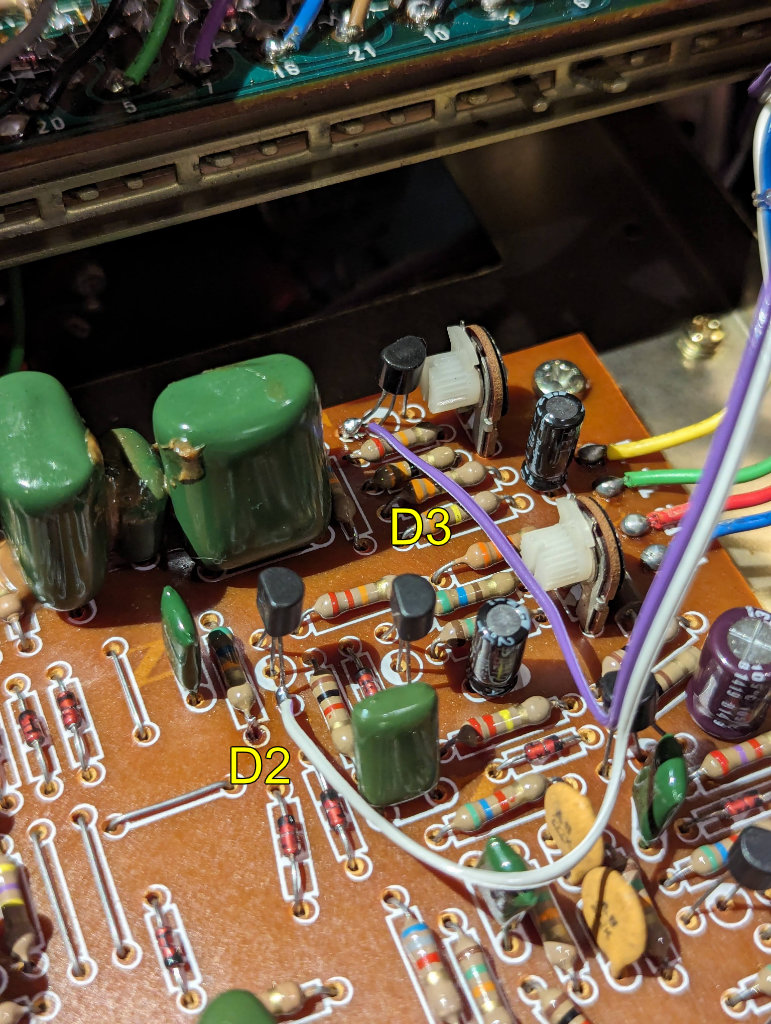
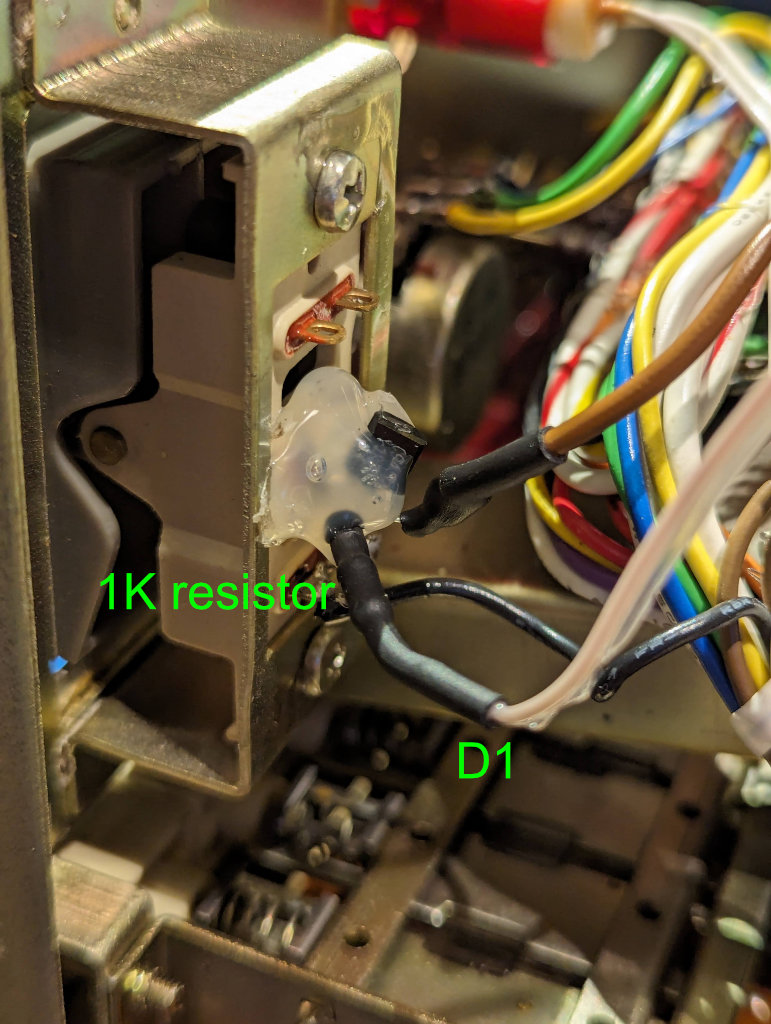
Clock and sync
Schematic diagramm, showing the clock and start/stop connections:
Clock connections, resistors not shown:
Start/stop connections in place:


