This guide explains how to install a MIDI input in a Casio CT-410V keyboard. It will probably also hold true for the very similar MT-400V.
We use uniMatrix to interface the keyboard matrix and simulate key presses.
It is also possible to sync the rhythms to the MIDI clock and to start/stop via MIDI.
With the current config file, you can play all notes and start/stop via CC 67. Though this can easily be changed with the configurator, for example to achieve start/stop via a special note.
Installing uniMatrix
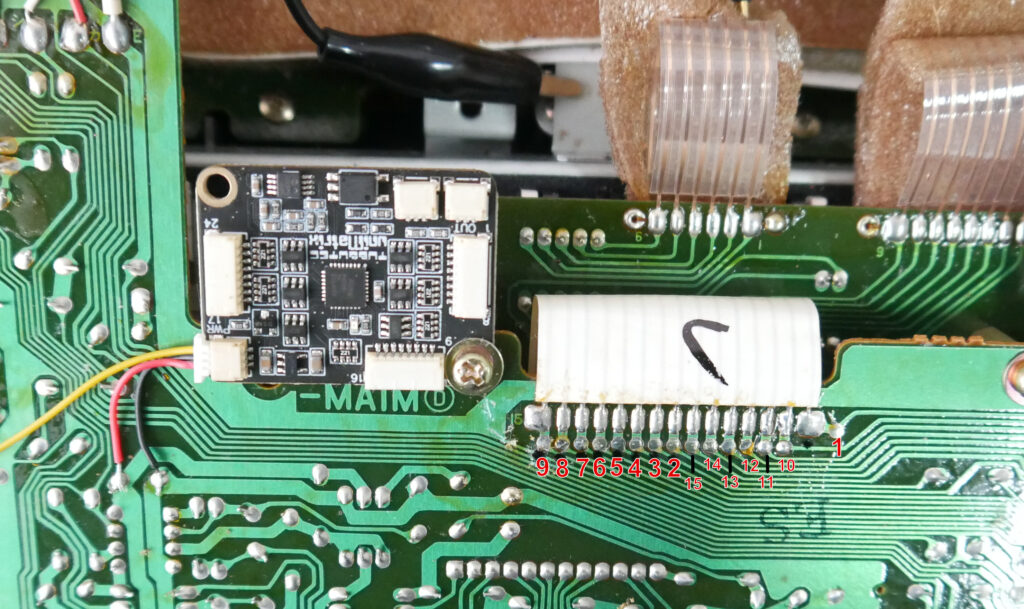
After opening the keyboard by removing the screws on the bottom, the uniMatrix board can be conveniently mounted with the existing screw as shown in the picture below. The red and black power wires on the left are soldered as shown (please ignore the yellow wire).
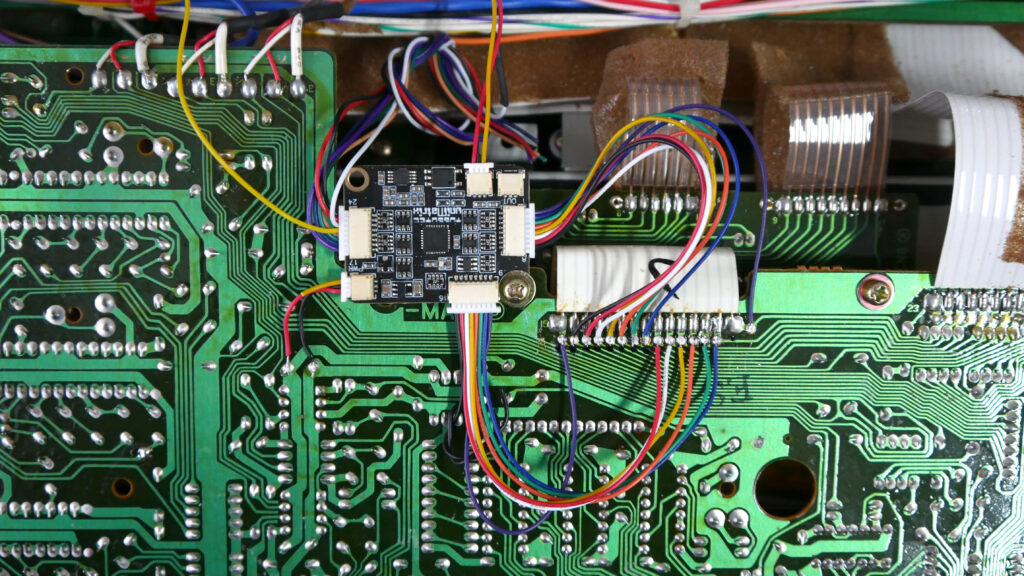
Next, solder uniMatrix IO1-15 to the points shown below. (click on the picture for a larger version)
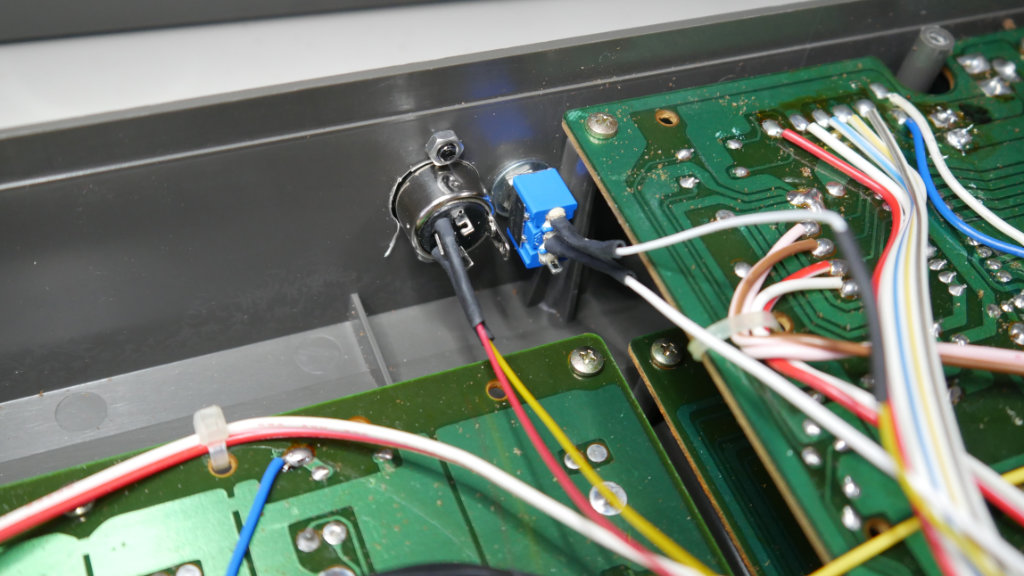
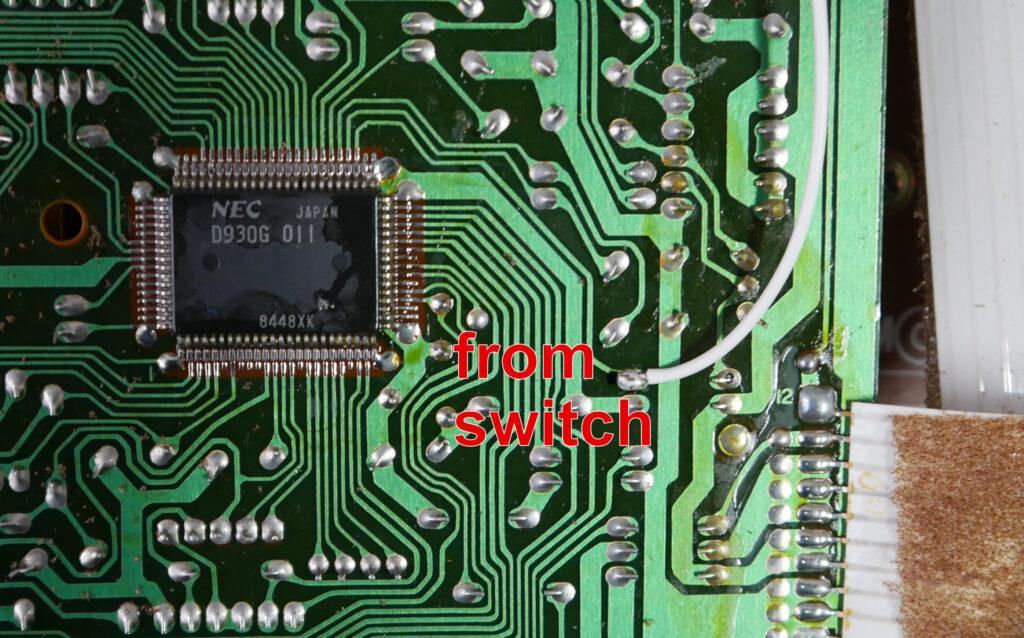
If you want to sync the CT-410V to MIDI clock, there is one additional signal: The clock signal is at IO21. This wire (yellow below) is soldered to a switch mounted in the back. With this switch, you can select between the MIDI clock and the original clock. From this switch, a wire is soldered to the clock injection point (see picture)
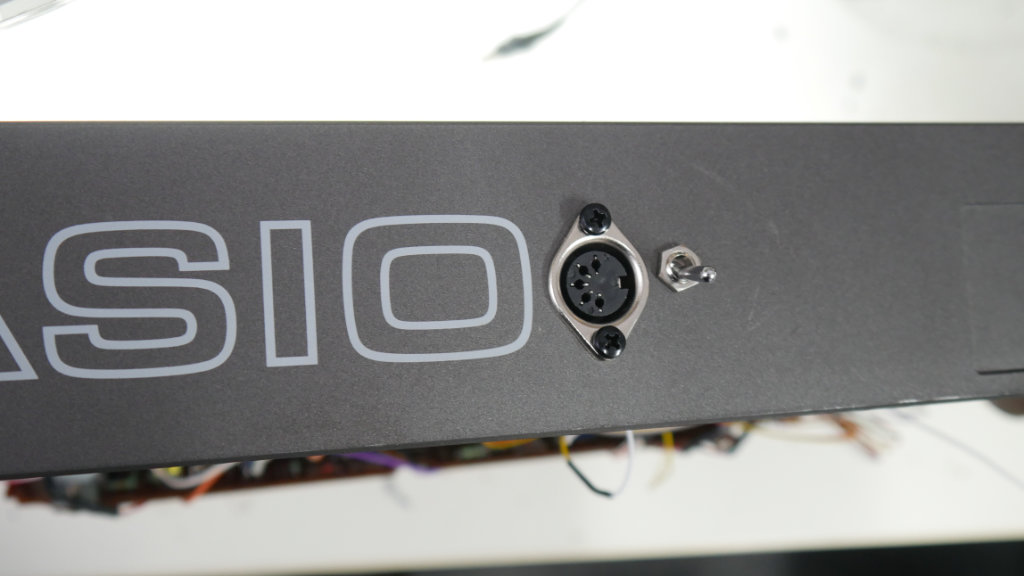
 The MIDI connector is plugged into the MIDI-in connection of uniMatrix. We mounted both the MIDI socket and the switch on the back. The holes for the MIDI socket can be easily drilled using the provided drill-aid.
Using the uniMatrix configurator, load the configuration for CT-410V (right click, save-as) and send it to uniMatrix.
Congratulations, you can now play your CT-410V via MIDI !


