
This guide describes how to install uniPulse into a Korg KR-55 and thus add midi trigger and sync. Some of the instruments react to velocity. The KR-55 can also be synced to the midi clock.
Note:
The KR-55 has a little quirk concerning the hihats. You can not trigger two consecutive open hihats. before triggering the next open hihat, a closed hihat needs to be triggered.
Configuration file
The configuration file for KR-55 can be found here.
Trigger points
The following pictures show the location of the trigger points P1 – P10 on the bottom of the voice board. just solder the wires coming from the uniPulse to these points as shown.

Trigger point overview

Trigger point detail 1

Trigger point detail 2

Trigger point detail 3
supply
Solder the GND and V+ wires to power the uniPulse board.

Midi sync
If you want to sync the KR-55 to midi, you need to install a switch to change between internal and midi clock. A double trough switch can be connected directly to pin 3 and 4 of IC3 as shown below. When the switch is closed the internal clock is overridden and the machine is synced to the midi clock. In this mode the START button of the KR-55 acts as a MUTE button.
Clock injection points
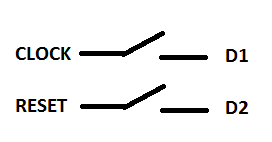
Clock switch and connection to uniPulse
Installing the unipulse board
We recommend using the panel mount version with internal midi socket. it can be mounted directly behind the back panel using the two screws provided. The board just fits between the transformer and the voice board. As you can see we mounted the clock-switch beside it so that midi clock is chosen when the switch points to the midi socket.
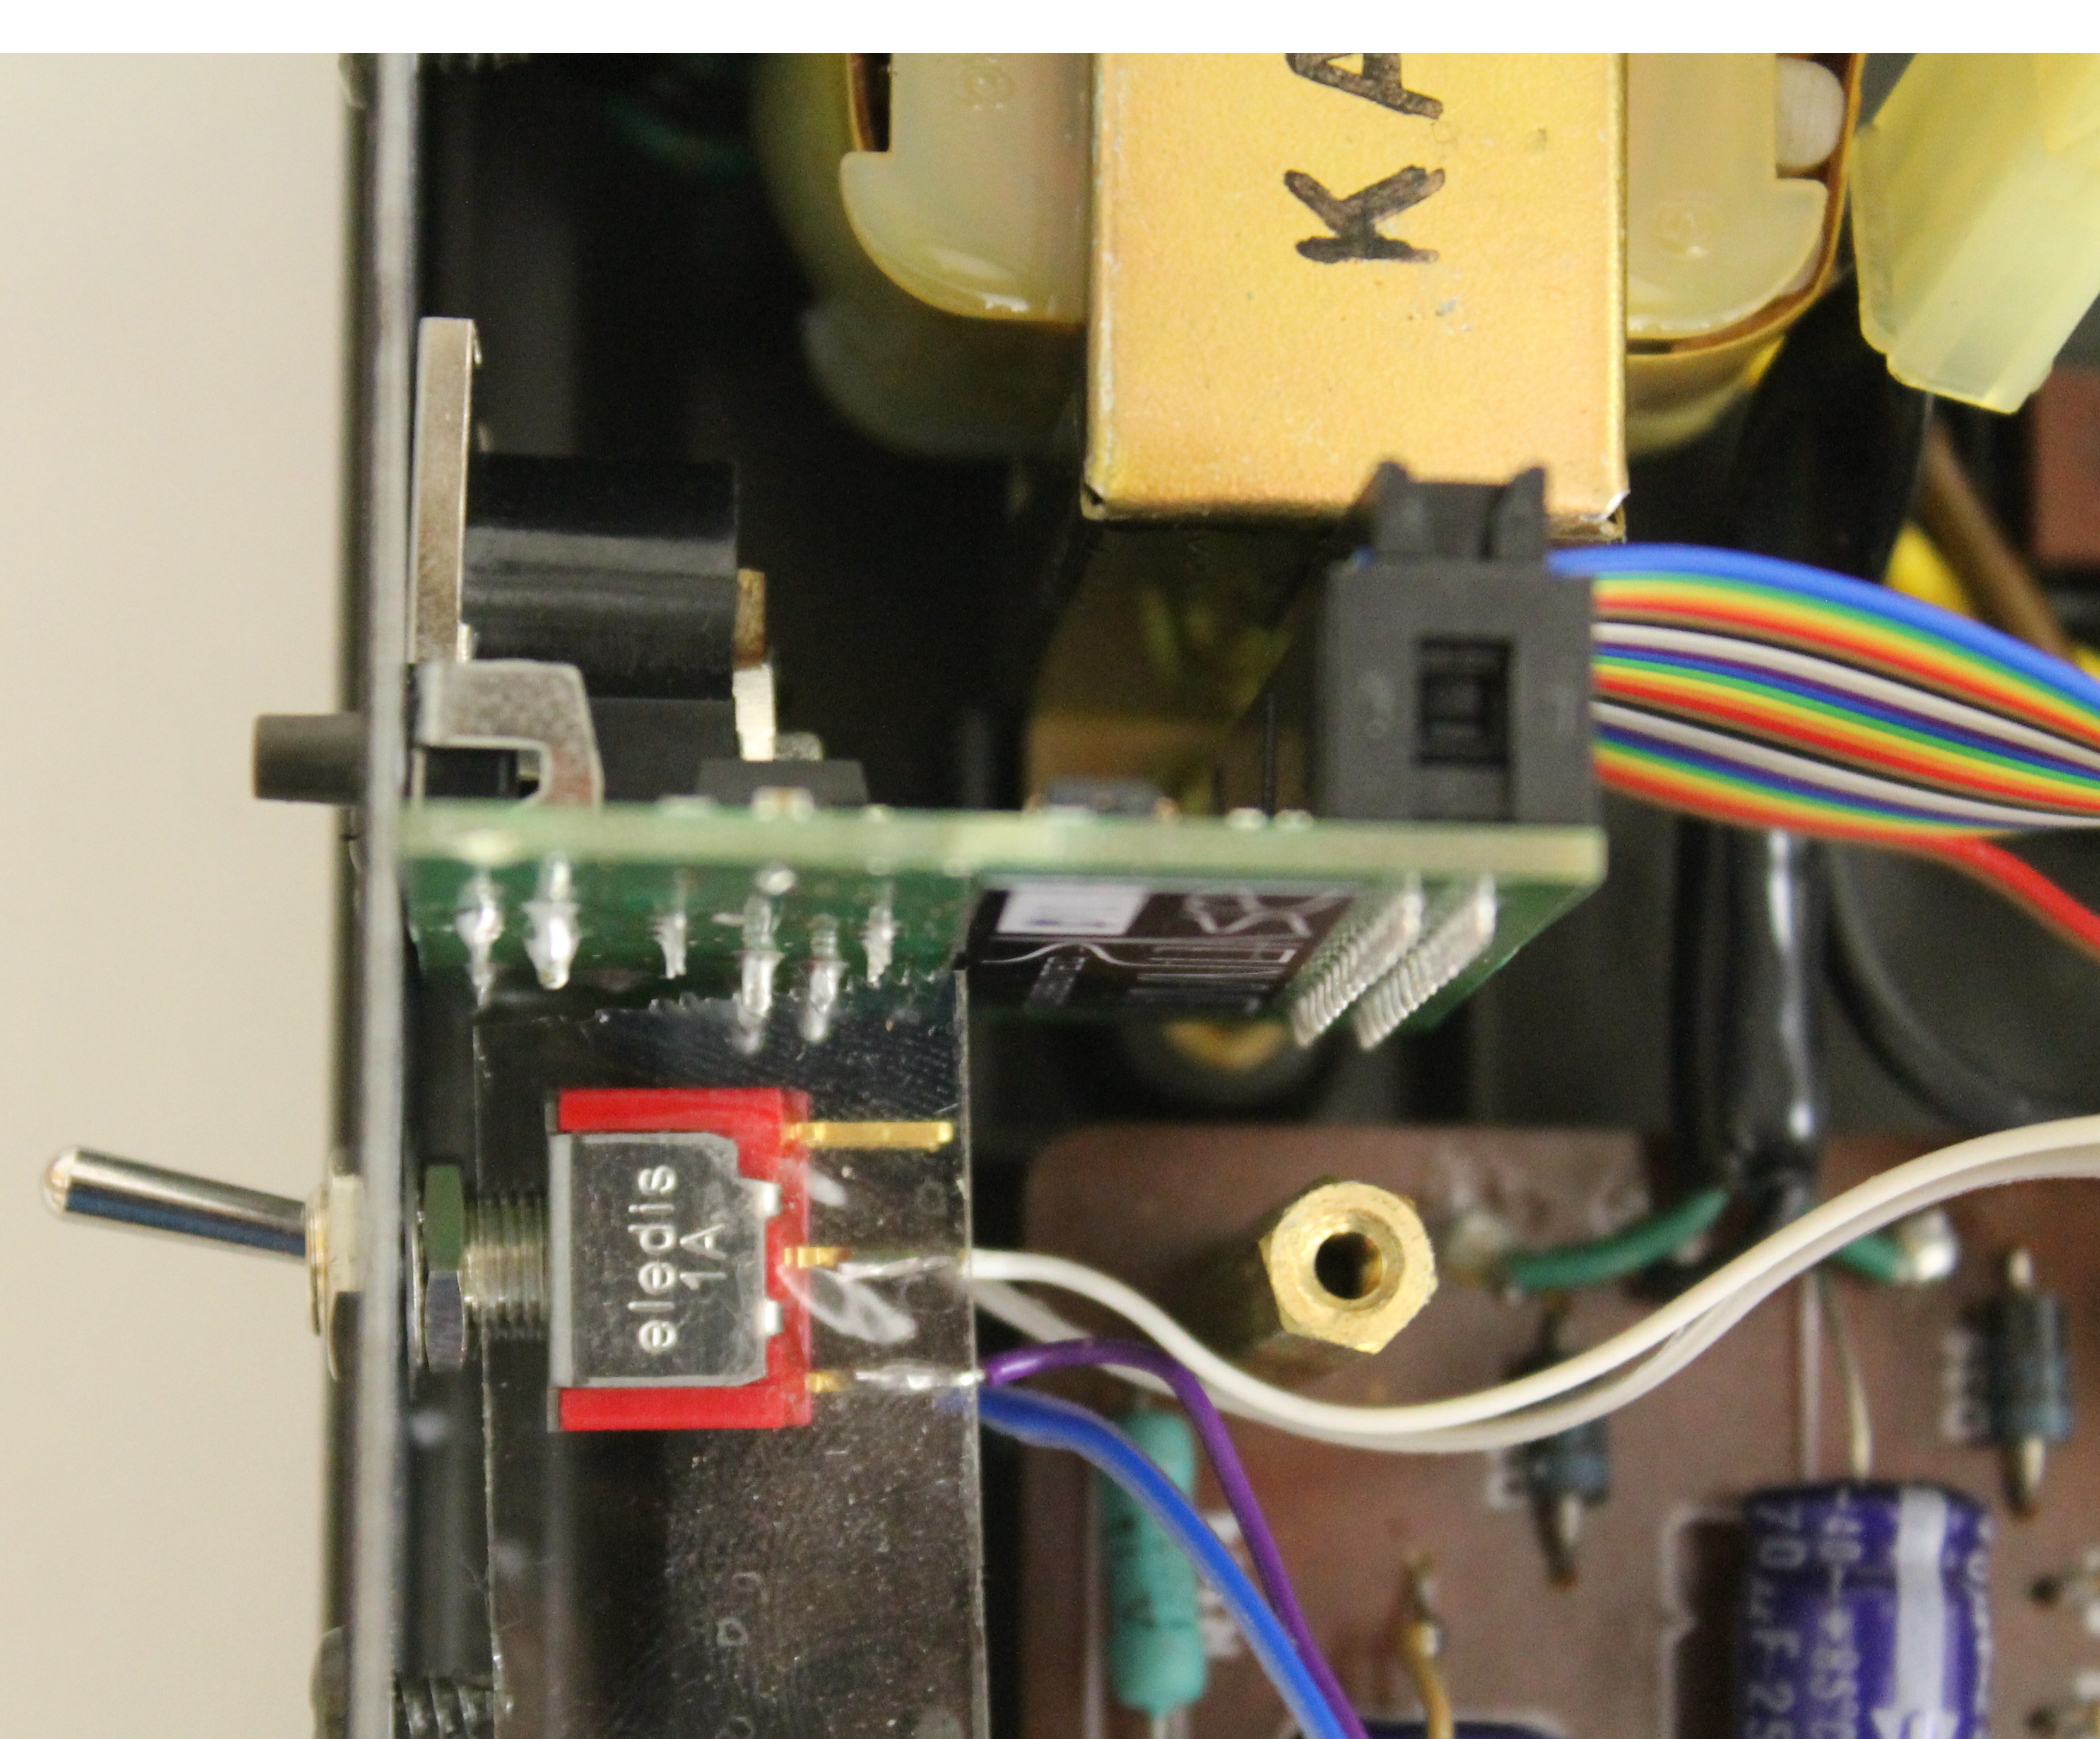
Installed uniPulse and switch

Midi socket and switch